|
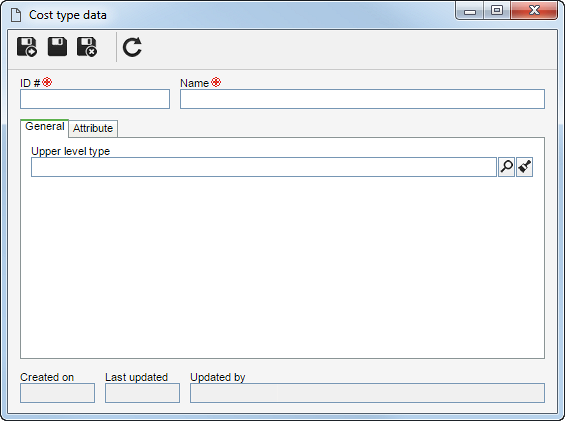
To add a new cost type, click on the  button on the main toolbar. To edit the data of a type, select it in the list of records and click on the button on the main toolbar. To edit the data of a type, select it in the list of records and click on the  button. button.
On the screen that will be opened, enter an ID # and a name for the cost type.

After saving the record for the first time, the following tabs will be available:
Upper level type
|
Fill out this field for the type to be hierarchically added below another type. In this case, select the desired cost type. If a cost type is selected in the main screen hierarchy, this field will be filled out by the system, but it will be possible to edit it.
|
|
Use this tab to define attributes to complement the information of the costs of this type. In the Planning section, it is possible to associate attributes that must be filled out specifically during the planning step. In the Execution section, the associated attributes must be filled out in the execution step.
Note: After executing the cost, it will also be possible to view the attributes separated by section.
Access the section that corresponds to the step with which you wish to associate attributes. On the side toolbar, the following buttons are available:

|
Click on this button to associate an attribute that was previously created in the system with the cost type. Refer to the Adding attributes section for further details on how to perform this operation.
|

|
Click on this button to save the association of attributes with the cost type.
|

|
Click on this button to disassociate the attribute selected in the list of records from the type.
|
If changes are made to the attribute configurations (for example: an attribute previously checked as required is no longer required or vice versa), they will be replicated to the costs of this type when their data is edited.
|
|
After setting the necessary configurations, save the record.
|


