|
To finish the execution of a task, first locate and select the desired task in the list of records. The tasks with the "Execution" status can be identified with the  icon in the S column. icon in the S column.
Once done, click on the  button on the toolbar. At this point, the task data screen will be displayed. button on the toolbar. At this point, the task data screen will be displayed.
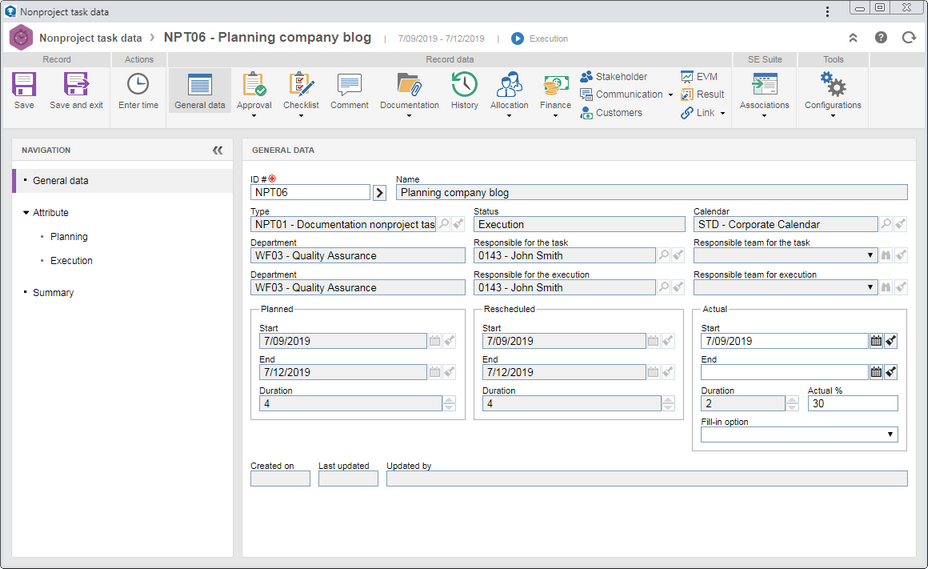
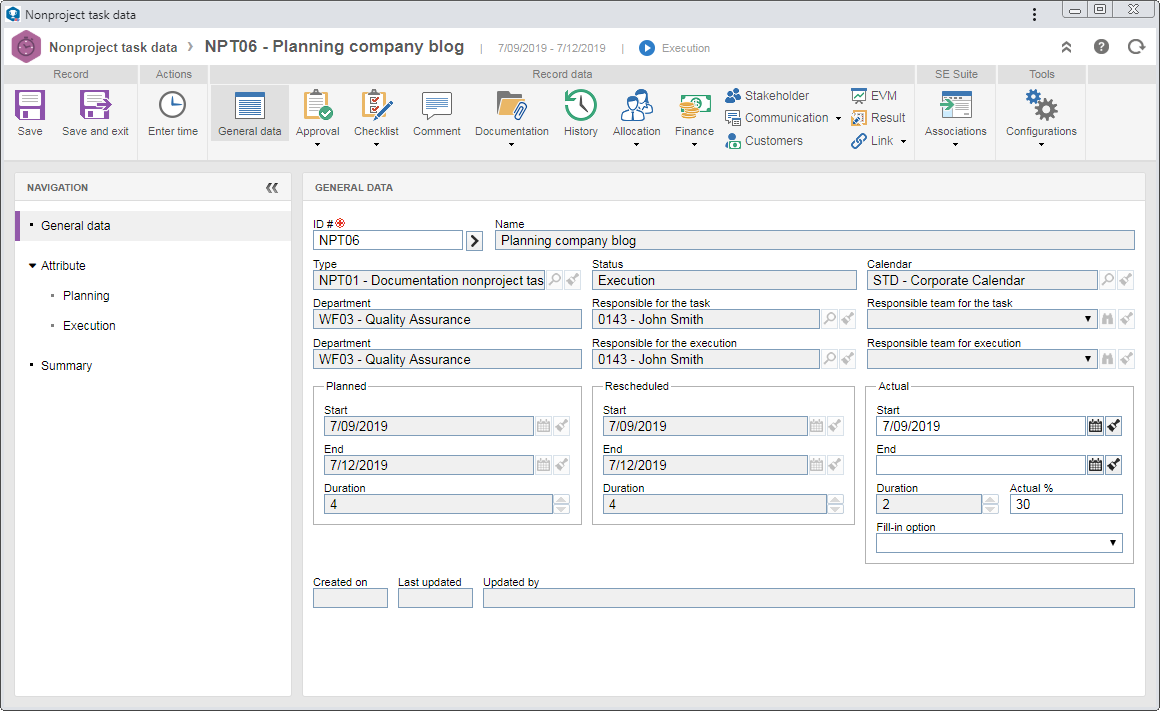
In the General data section, fill out the following fields in the Actual section:
Fields
|
|
End
|
Enter the actual date of the end of the task execution. When filling out this field, the "Actual %" field will be automatically filled in by the system with "100%". If the "Allow entering retroactive dates in the execution of tasks" option is checked in the general parameters, it will be possible to enter a date prior to the current date. Otherwise, the system will not enter a date before the current date. Note that the system does not allow entering a date after the current date or before the start date.
|
Actual %
|
Fill out this field with 100% to indicate that the task was finished. When filling out this field with 100%, the End field will be automatically filled in by the system with the current date.
|
Fill-in option
|
Select the corresponding option to use the planned or the rescheduled dates as the execution date (actual). In that case, the Start and End fields will be filled out with the planned/rescheduled start and end dates, and they will not be available for editing. Note that the Actual % field will be filled out with the value of 100%.
|
It is important to note that to execute the task successfully, all the required fields of the task (execution checklist, requirements etc.) must be duly completed. When a required field is not filled in, the system will issue an alert informing of the error. Refer to the Editing a nonproject task under execution section for a detailed description of the fields and sections that may be available for completion during the task execution.
|
After that, save the record. At this point, the system will issue an alert informing the task will be finished, being no longer possible to edit it or add values and ask whether you wish to send it to the next step. Choose the desired option:
OK: The task will be sent to one of the following steps:
▪Execution approval: If in the task type the "Execution approval" option is checked, the system will generate the Task execution approval task for the due responsible parties to perform this operation. ▪Task verification: If the task does not have the approval step configured and, at the moment of its planning, the "Task will be verified" option is checked, the task will be sent to Verification by the due responsible party. ▪Closure: If the task does not have the approval or verification steps, it will be finished. Cancel: The task will remain pending with the "Execution" status. Sending the task to the next step can also be performed via the  button on the main screen or through the Task execution task. button on the main screen or through the Task execution task.
|