|
To create or edit a dataset, first access the "File  Dataset" menu. Then, click on the Dataset" menu. Then, click on the  button to create a dataset or on the button to create a dataset or on the  button to edit the dataset selected on the main screen. button to edit the dataset selected on the main screen.
The dataset screen is a wizard that divides the creating or editing operation in four steps. If the dataset is being edited, click on the "Next" button until you reach the step with the information that will be edited.
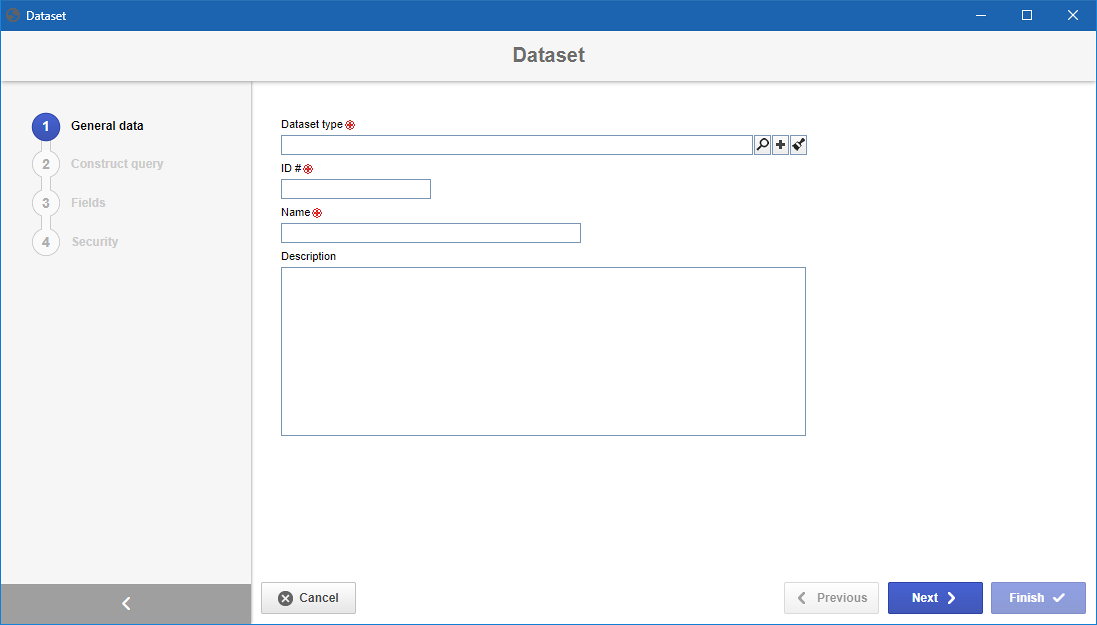
Step 1 - General data
In this step, fill out the following fields:
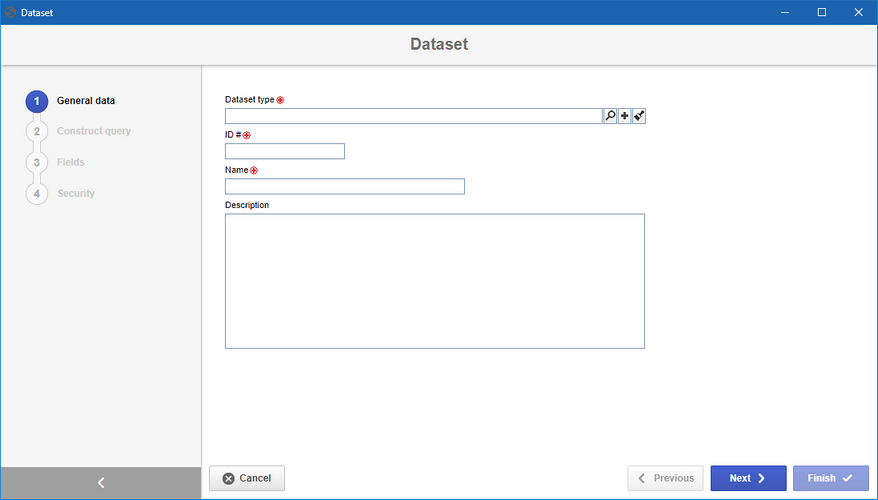
Dataset type: Select the type that classifies the dataset being created.
ID #: Enter a number or code for the ID # of the dataset in question.
Name: Enter a name for the dataset in question.
Description: Enter, in this field, the description of the dataset in question.
After filling in the fields, click on the Next button.
Step 2 - Construct query
In this step, the user must inform the SQL command that will define the search criteria and the data that will be used in the dataset being configured. Fill out the following fields:
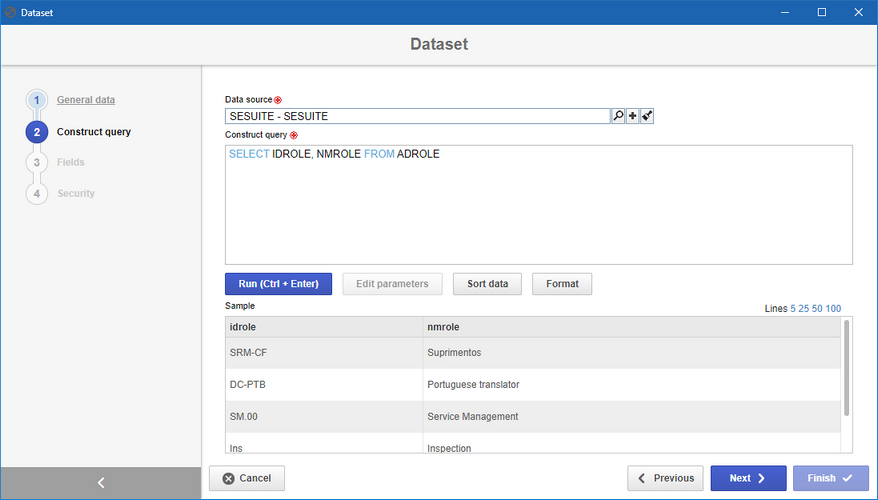
Data source: Select the data source for the dataset. The data source establishes the connection with the database and must be previously configured in SE Administration. However, if the logged-in user has permission, the  button will be displayed next to this field, allowing the addition of a new data source. Details on how to add a new data source can be found in the SE Administration documentation. button will be displayed next to this field, allowing the addition of a new data source. Details on how to add a new data source can be found in the SE Administration documentation.
Construct query: Enter in this field, the SQL command that will be used in the analysis.
Button
|
Execute (Ctrl + Enter)
|
Click on this button to test the query added to the "Construct query" field. If a command error occurs, it will be shown on the screen.
|
Edit parameters
|
This button will be enabled only when there is a condition in the query whose value is variable. For that reason it is necessary to use ":" after the assignment to identify that the value must be a parameter.
For example:
SELECT IDLOGIN, NMUSER FROM ADUSER
WHERE IDLOGIN =:ParamLogin
Where 'ParamLogin' is a form parameter. When there are parameters in the query, by clicking on the "Execute" button, the system will automatically display the parameters screen, in which the values for the query execution simulation must be entered.
|
Sort data
|
By clicking on this button, the screen to define the sorting parameters will be displayed. In the "Field" field, select the (query) column through which data will be sorted, and in the "Orientation" field, define if the sorting will be ascending or descending. If it is necessary to sort the data through a second column, click on "Add new" and add the column and the orientation for the sorting. Then, click on "Apply" for the sorting to be applied to the query result.
Note: It will only be possible to sort the data through the columns returned in the query (defined in SELECT). If the SQL command is displaying all columns (SELECT * FROM TABLE), all columns will be displayed in the "Field" field.
|
Format
|
Click on this button for the system to apply a format (indentation) to the SQL command, making it more legible for future changes.
|
After configuring the query, click on the Next button.
Step 3 - Fields
This step will display all fields of the query executed in the previous step so that their labels can be edited. To do this, in the Label for user column, change the name that will appear for each label, which by default will come with the same name as the query.
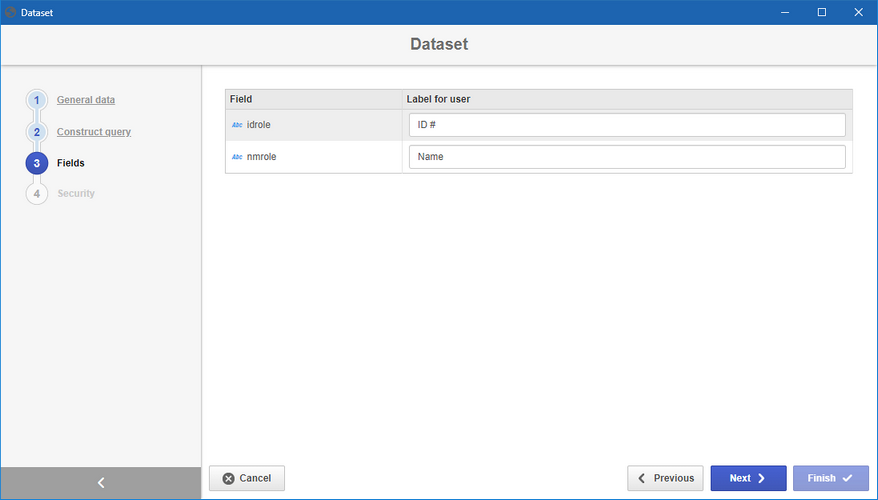
After configuring the labels of the fields, click on the Next button.
Step 4 - Security
In this step, select who will have access to the dataset in question. Enable the desired option:
Private
|
Public
|
If this option is enabled, only the users defined in this section will be able to edit or view the dataset. To do that, use the following columns:
▪Edit: Define which users, teams, departments and/or positions will have permission to edit the dataset. ▪View: Define which users, teams, departments and/or positions will have permission to view the dataset. |
If this option is enabled, all system users will be able to view the dataset, but only the users defined in the respective column will be able to edit it.
Therefore, the View column will be disabled (since the dataset can be viewed by any user).
In the Edit column, define which users, teams, departments and/or positions will have permission to edit the dataset data.
|
▪To add a user, team, department, or position to the security list, simply type the desired name in the available field and select the corresponding option in the list that will be displayed or press "Enter" on the keyboard. To delete it, click on the  button located next to the desired record. button located next to the desired record. |
|