|
If this is done through the main screen of the Project tracking menu, first, locate and select the desired project from the list of records. After that, click on More   on the toolbar. on the toolbar.
 If this operation is being performed by the project data screen that is being monitored, click on the If this operation is being performed by the project data screen that is being monitored, click on the  side toolbar button in the Status report section. side toolbar button in the Status report section.
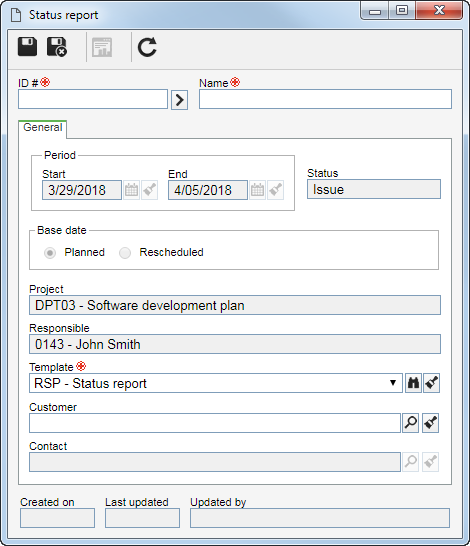
On the screen that will be displayed, enter an ID # and a name for the status report.
General
|
On this tab, the Period, Status, Base date, Project and Responsible fields are filled out with their project information and status report being created. Fill in the following fields:
|
Template
|
This field will be filled out by the system with the default status report template defined in the project. If there are other status report templates associated with the project, it is possible to select one of these templates to use. Use the  button next to the field to view the data of the selected status report template. button next to the field to view the data of the selected status report template.
|
Customer
|
Select the customer for which the status report will be issued.
|
Contact
|
Select the previously selected customer contact for which the status report will be issued.
|
Use the button to edit the generated status report data. See more details about this operation in the Editing a status report section.
If the  button is clicked, the system will ask if you wish to fill in the status report. Choose the desired option: button is clicked, the system will ask if you wish to fill in the status report. Choose the desired option:
OK: At this point, the system will display the status report screen to be filled out. See more details about this operation in the Editing a status report section.
Cancel: The screen will close. If the report is being generated by the main screen of the Tracking menu, to edit the data of the report it is necessary to access the project data screen in the Record data Status report section.
|