|
To perform an import, click on More   . At this point, the wizard that helps with this operation will be opened. If the Map by department option is chosen, click on the Start button and follow the steps below: . At this point, the wizard that helps with this operation will be opened. If the Map by department option is chosen, click on the Start button and follow the steps below:
Import spreadsheet configuration
In the Select file step, the spreadsheet containing the elements to be imported must be uploaded. To do that, it is necessary to have the spreadsheet configured previously. The template spreadsheet can be obtained through the First time? section of this import step.
Fill out the cells of the columns in the STRELEMENT tab on the spreadsheet with the data of the elements you wish to import. The Recommendations tab displays information on the column fields: if they are required, their type and their description.
After filling out the necessary fields, save the spreadsheet. It is important to point out that the file extension must be .xls.
Once done, return to the import wizard and execute the following steps:
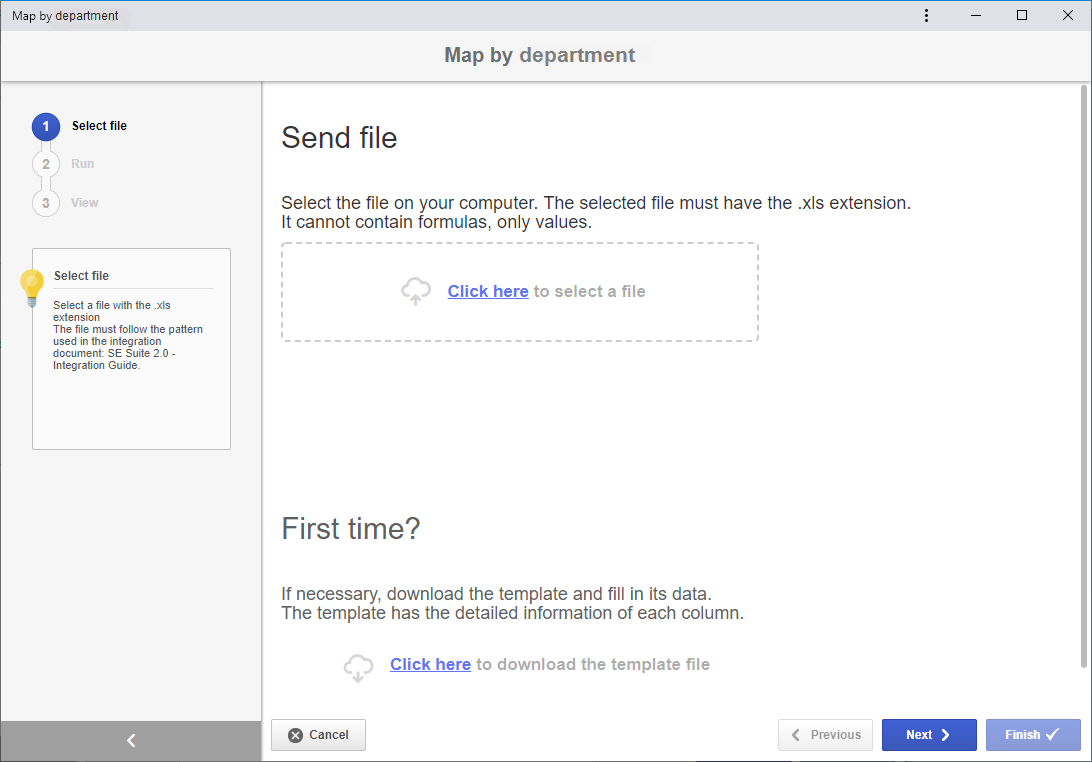
Select file
In the Send file field, upload the properly filled out spreadsheet. The system will validate it if the spreadsheet has records. Otherwise, it will display a message informing about the error in the spreadsheet configuration.
Note that the spreadsheet must be exported in the same language in which it will be imported in SE Suite. For example, if the spreadsheet is exported with the language of SE Suite set as English, and it is imported with the language of SE Suite set as Portuguese, the system will not validate it.
|
Use the Next button at the bottom of the wizard to access the next step.
Execute
This step will list the data filled out in the file selected in the previous step. If there is an error with part of the information, return the import to the previous step, correct the Excel file and import it again. Use the  button on the side toolbar to delete the selected element from the listing. With this, it will not be imported. button on the side toolbar to delete the selected element from the listing. With this, it will not be imported.
If all data listed in this step are correct, simply click on "Next".
View
This step will list the data of the mapping that was imported. If any problems have occurred, the "Error description" column will inform the error. In this case, the correction must be performed in the Excel file and it must be imported again.
Click on "Finish" to end the import.
▪Use the Previous button at the bottom of the screen to return to a previous step of the import to make the necessary changes. ▪Use the Cancel button at the bottom of the screen to exit the import wizard. Note that all the data entered up to then will be lost. To perform this operation effectively, it is necessary to confirm the question asked by the system. |
|