Planning a blank audit


Planning a blank audit |


|
|
To plan a new audit, click on the
Select the category that classifies the audit that is being created and save the selection.
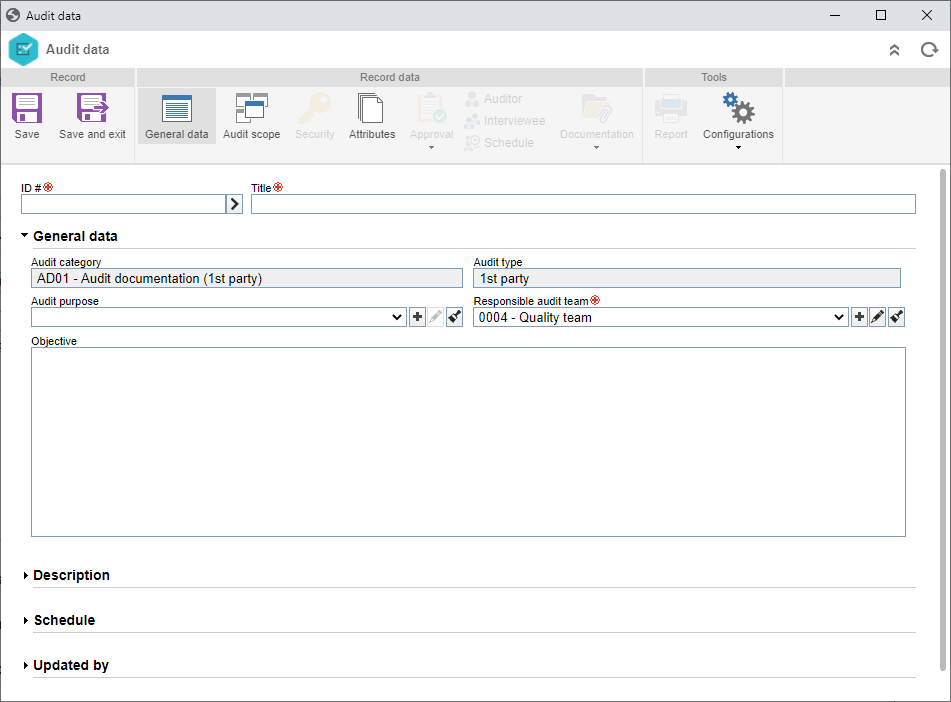
On the data screen that will be displayed, enter the ID # and the title of the record. If you prefer, use the arrow next to this field to generate an automatic identifier. Do not forget that if the identification mask usage has been configured in the category, when the ID # is generated, the corresponding mask will be displayed. The ID # generated through the mask can only be edited if the Enable generated ID # change option is checked on the category data screen.
 Requirement audit data screen
Note: The Audit plan field will be displayed next to the ID # and Title fields when the audit is part of an audit plan. It will be filled out with the title of the respective plan.
General data
DescriptionIn this section, enter important information about the audit being planned.
ScheduleUse this section to enter the dates of the audit steps defined in the category. The description of the fields below is valid for the Planning, Preparation, Execution, and Closure subsections. For that, access the corresponding sections and fill out the following fields:
After that, save the record, but do not close the data screen. At this point, the other sections will be enabled to be filled out. Refer to the Editing the audit data section for a detailed description on the other fields of the audit data screen. |
|||||||||||||||||||||||||||||||