|
Each repository is directly connected to a storage place, and each storage place is associated with an organization department, recorded in the SE Administration component.
To do that, first, in the Storage place filter, located in the search filters panel, click on the  button and, on the screen that will be opened, locate and select, in the hierarchy, the desired Department. Use the button and, on the screen that will be opened, locate and select, in the hierarchy, the desired Department. Use the  button to fill out the field with the department of the logged user. button to fill out the field with the department of the logged user.
Next, on the Type filter, click on the Select type button. The panel that will be displayed contains the structure of storage places that belong to the previously selected department. In the structure, select the desired storage place. Check the "Display lower level records option" option in the lower part of the panel so that the storage places that are in levels below the level of the selected storage place are also displayed in the list of records. Click on the Apply button located at the lower part of the panel.
Once done, click on Search. Thus, the repositories created in the selected storage place will be displayed in the list of records.
To add a repository, click on the  button on the main toolbar. To edit the data of a repository, select it in the hierarchy and click on the button on the main toolbar. To edit the data of a repository, select it in the hierarchy and click on the  button. button.
On the screen that will be opened, enter an ID # and a name for the repository. To enter an ID # more easily, the button next to the field can be used to generate a new sequential number.
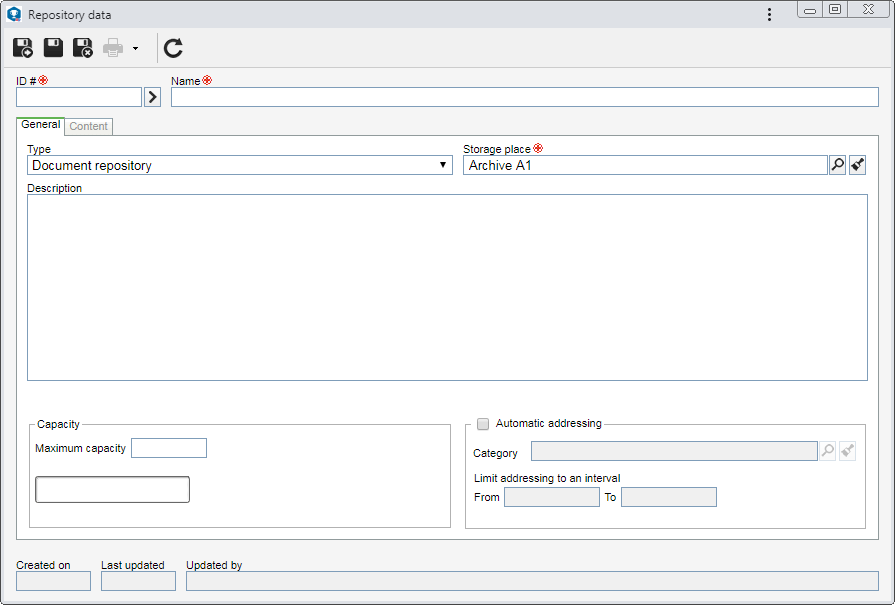
Note: To create a repository, it is necessary to fill out the required fields in the General tab. After saving the data for the first time, the Content tab will be available to be filled out.
Field
|
|
Type
|
▪Documents repository: Select this option so that the repository stores documents. ▪Media repository: Select this option, so that the repository stores media, such as CDs, DVDs, flash drives etc. After saving the record for the first time, it will not be possible to edit the selected option.
|
Storage place
|
This field is filled out by the system with the storage place to which the repository belongs, selected previously, but it can be edited. In this case, select the storage place in which the repository being recorded is found.
|
Description
|
Fill out this field to enter important information on the repository being created.
|
Capacity
|
In the Maximum capacity field, enter the maximum number of repositories that the repository may have. The bar placed below this field shows the repository status regarding the space available for storage.
|
Automatic addressing
|
Check this option so that specific documents are automatically associated with the repository being recorded. To do that, fill out the following fields:
▪Category: Select the category of documents that are stored in this repository. The selected category must be duly configured and with the Physical file control enabled. ▪Limit electronic addressing to an interval: Use the fields From and To to enter the interval of number of identifiers of those documents that belong to the category selected previously, that will be stored in the subject repository. If this option is not checked, the automatic addressing feature will not be applied.
|
|
The objects stored in the repository will be displayed according to their type:
Document repository
|
The list of records will display the data of the documents archived in the repository: category, ID #, date and title. Use the  button on the side toolbar to view the data screen of the document selected in the list of records. button on the side toolbar to view the data screen of the document selected in the list of records.
|
Media repository
|
The list of records will display information of the media archived in the repository: media type, ID #, name, burning date and retention deadline. Use the button on the side toolbar to view the data screen of the media selected in the list of records.
|
|
After configuring the necessary fields, save the record.
|