Designing a form |
|
|
See the basic steps to design a form:
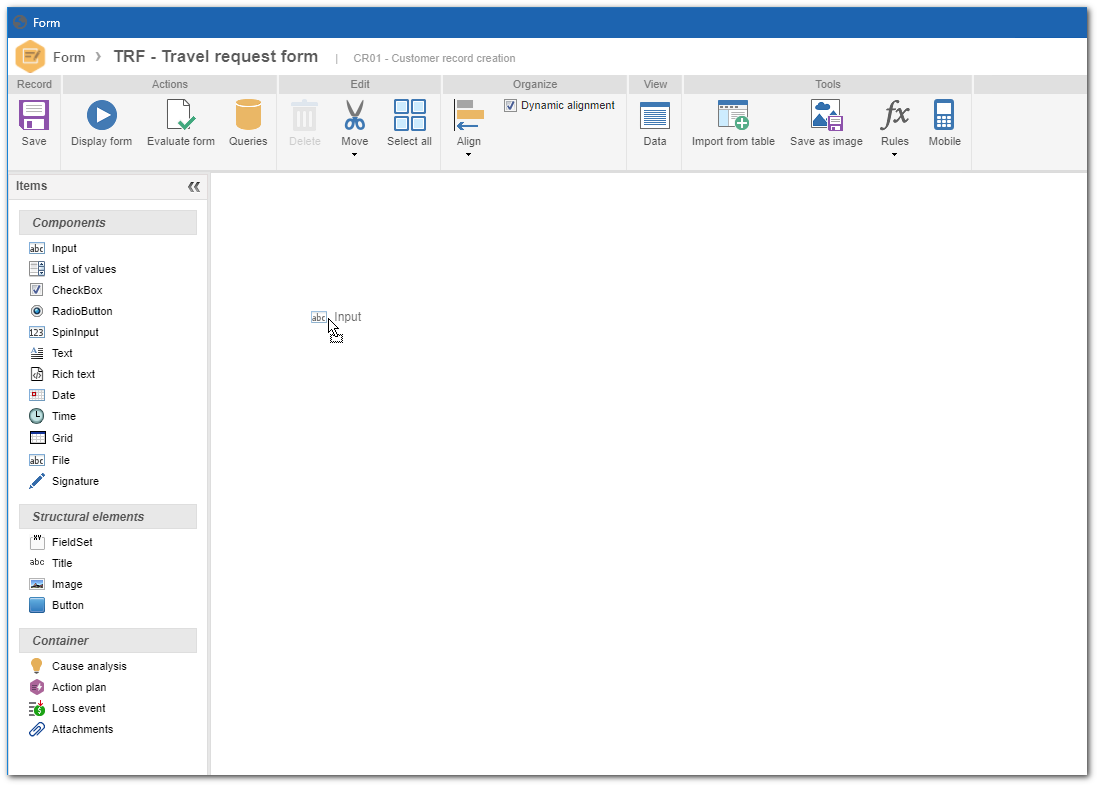
1.To add items to the form, drag the desired item from the Items panel to the designing area:
2.After adding the items, use the Properties panel to edit the title shown for each item and tab order, as well as to adjust the height and width of the item, among other configurations. To do this, click on the item in the modeling area and make the necessary adjustments. Each field of the form must be associated with an attribute or relationship of the table.
3.The ComboBox, Zoom, Grid, and Button item have additional configurations. They are performed through the Properties panel. See more details in the following sections: ▪Grid
4.Through the Properties panel, the user is also possible to configure formulas or functions for determined actions performed in the form. For that matter, select, in the designing area, the desired item and, in the Properties panel, configure the rule. The rules can be executed by entering or editing a value in a field or even if a click is made on some items. For details on how to use formulas and functions in SE Form, see the Formula editor section.
5.After adding and configuring all the necessary items in the form, click on the Evaluate form button to check whether there are inconsistencies in the form. If an error is found, the system displays a description of it, informing in which fields the error is occurring. Make the necessary corrections and verify again.
6.Save the form. |