Creating a revision |
|
|
1.After the type/category configuration, the objects may pass through the revision with a workflow. To do this, go to the menu where the revisions are created, select the desired object and click on the
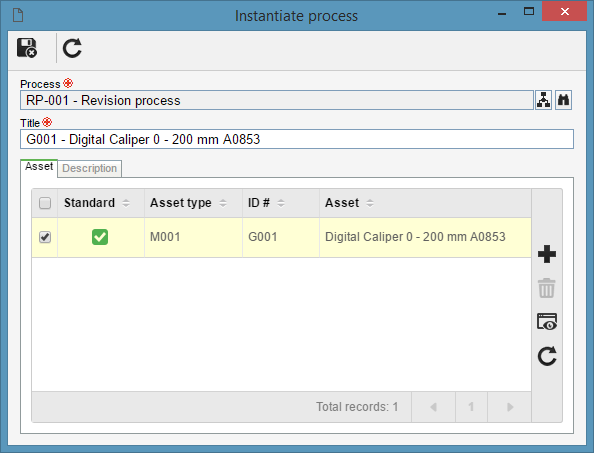
2.The following information will be available: Process: ID # and name of the process that will be started. This field is automatically filled in by the system, depending on the process associated with the object type. Click on the Title: Enter a title for the process instance that will be created in the SE Workflow component.
3.As the revision of the example above was created for an asset, a tab called Asset will be available, where it will be possible to add other assets that can be contemplated by the revision process. This tab will receive the name of the object that will be revised. Aware of this, click on the
4.On the Description tab, enter the details of the instance of the process that will be started. These data may be previously configured in the SE Process component, but the starter may edit them according to his or her needs.
5.After filling in the fields on the above screen, click on the
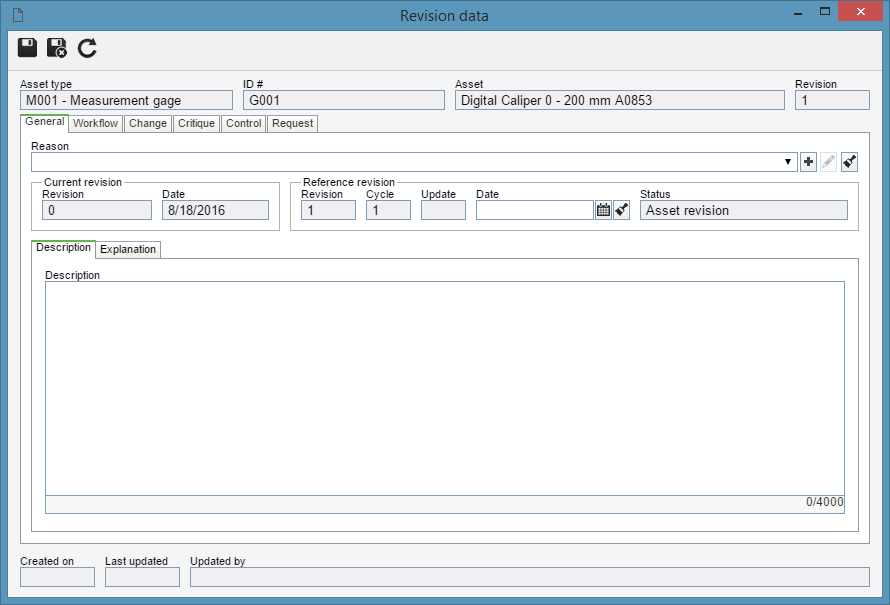
6.In the General tab, complete the following fields:
Reason: Select the reason that caused the revision to be opened. Current revision: Regarding the current revision of the object, the following fields are available: ▪Revision: Number of the current revision of the object. ▪Date: Date of the current revision of the object. Reference revision: Regarding the object reference revision, the following fields are available: ▪Revision: Number of the revision being created. The filling of this field varies depending on the identifier defined for the revisions of the Type/category objects (See step 4 of the Configuration of the revision process described earlier in this section). ▪Cycle: Whenever the activity that is configured to start a new cycle is enabled for the responsible user, the system increments a number in this field. ▪Date: Enter the date of the reference revision of the object. ▪Status: Displays the associated status in the activity of the process that is under execution. Description: This field is located on the Description tab. Use it to enter additional descriptions of the object revision. Explanation: This field is located on the Explanation tab. Use this field to justify the object revision.
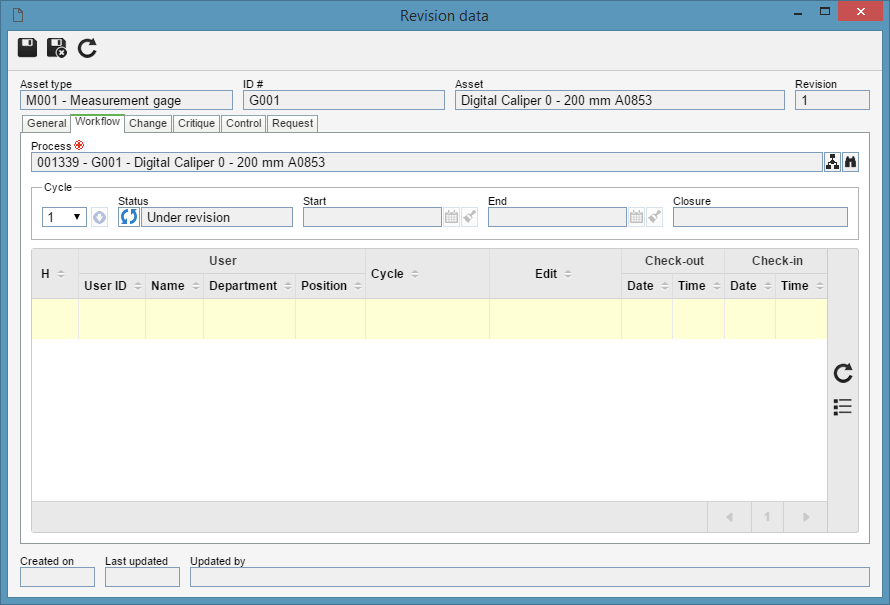
7.In the Workflow tab, information regarding the Workflow instance of the process that is under execution is available:
Process: This field displays the instance of the process that is under execution in SE Workflow. Click on the Cycle: Displays information about the cycle in which the revision is. Remember that a cycle is started every new revision. Status: Displays the "Under revision" status while the revision in question is in progress. After the revision is released, it displays the "Finished" status. Start: Displays the date on which the revision in question was created. End: Displays the date on which the revision was ended. Closure: Displays the data of the user who finished the revision. If the closure is automatic, the name of the user who executed the last configured revision step will be informed.
8.The other tabs on this screen, depend on the component whose object is being revised. Therefore, see the documentation for each component for the details of how to complete the information from the other tabs of the revision data. After filling in the fields on the screen above, click on the |