Task:
|
Template revalidation approval
|
Who receives it:
|
Users defined as members of the responsibility route for the approval, associated with the configuration of the validity or revalidation of the template plan type.
|
When:
|
After sending a template revalidation for approval.
|
Purpose:
|
To approve or reject the revalidation of a plan template.
|
How to execute this task:
1.
|
From the list of pending records, select the plan whose revalidation will be approved.
|
2.
|
Use the  button to view the structure of the plan being revalidated and click on the arrow next to the button to view the structure of the plan being revalidated and click on the arrow next to the  button and select the corresponding option to view the data screen of the selected plan and make sure that the data is properly informed. button and select the corresponding option to view the data screen of the selected plan and make sure that the data is properly informed.
|
3.
|
To perform the revalidation approval, click on the  toolbar button. toolbar button.
|
4.
|
Fill in the following fields on the data screen that will be displayed:
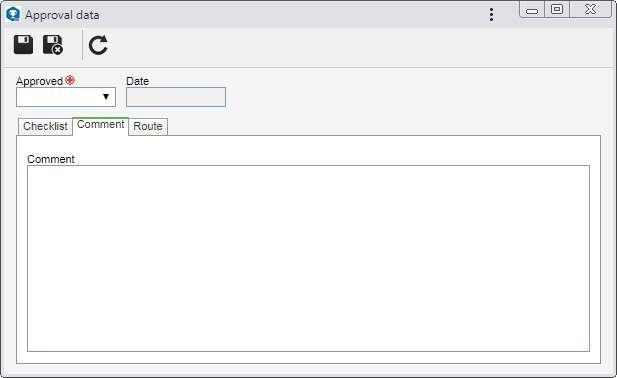
Approved: Select the "Yes" option to approve or the "No" option to reject the revalidation.
Date: This field is filled by the system with the date on which this operation is being performed.
|
5.
|
The Checklist tab will only be displayed if the responsibility route member who is performing the approval, has an associated checklist. This checklist is intended to assist the person responsible for the approval or disapproval of the revalidation. To answer the checklist questions, select the desired option (Yes, No, or N/A) in the Answer column in the list of records itself. The answers may already be filled in with a default option, defined in the checklist record. Moreover, filling in the fields in the Comments column will be mandatory or not, according to the established configurations, also, when creating the checklist.
|
6.
|
Use the Comment tab, to enter important information referring to the revalidation approval. If the execution is rejected, filling in this tab will be mandatory. In that case, you must enter an explanation for rejecting it.
|
7.
|
The Route tab will only be displayed if the "Edit the approval flow?" option was checked when defining the responsibility route member that is being executed for approval. In it, it is possible to edit the flow of the members responsible for approving the step. To do that, use the following buttons on the toolbar next to the list of records:

|
Click on this button to add a new responsible party to the approval. Refer to the Configuring a new responsibility route section to obtain a detailed description of how to perform this operation. Note that by adding a new responsible user to a route associated with a revalidation approval, this addition will not be replicated to the route record made through the Configuration  Responsibility route menu. Responsibility route menu.
|

|
Click on this button to edit the data of an approval responsibility. Select the desired record before clicking on the button.
|

|
Click on this button to delete an approval responsibility. Select the desired record before clicking on the button.
|

|
Click on this button to identify the approval status (AS column), i.e., action was taken by the members of the responsibility route.
|
It will not be possible to add, edit, or delete members who have already executed their approval task.
|
|
8.
|
After filling in the fields above, save the record.
|
9.
|
If the revalidation is rejected, it will be sent to issue once again.
|
10.
|
If the revalidation is approved, it will become the current revalidation for the plan in question.
|
|