Configuring a CMM file |
|
|
See below the steps to configure a CMM file.
Creating a new configuration1.Access the File
2.Click on the
3.On the screen that will be displayed, enter an ID # for the configuration. Then, click on the
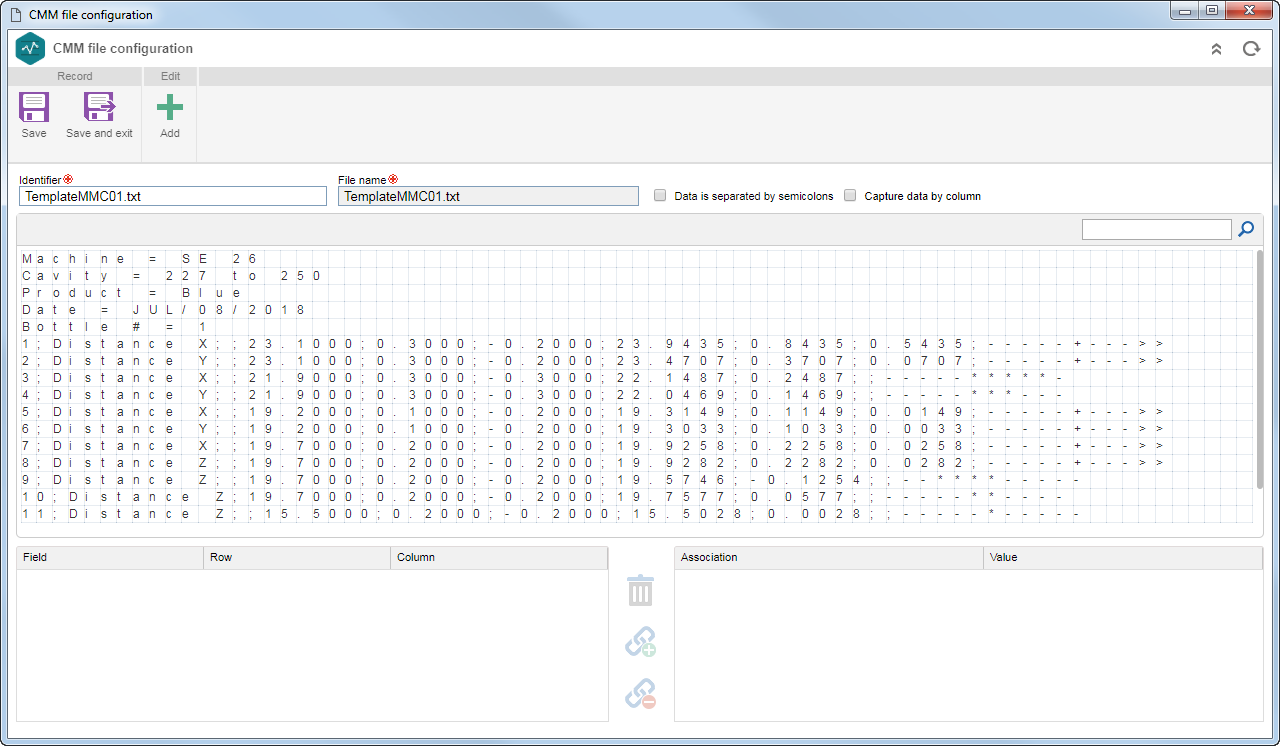
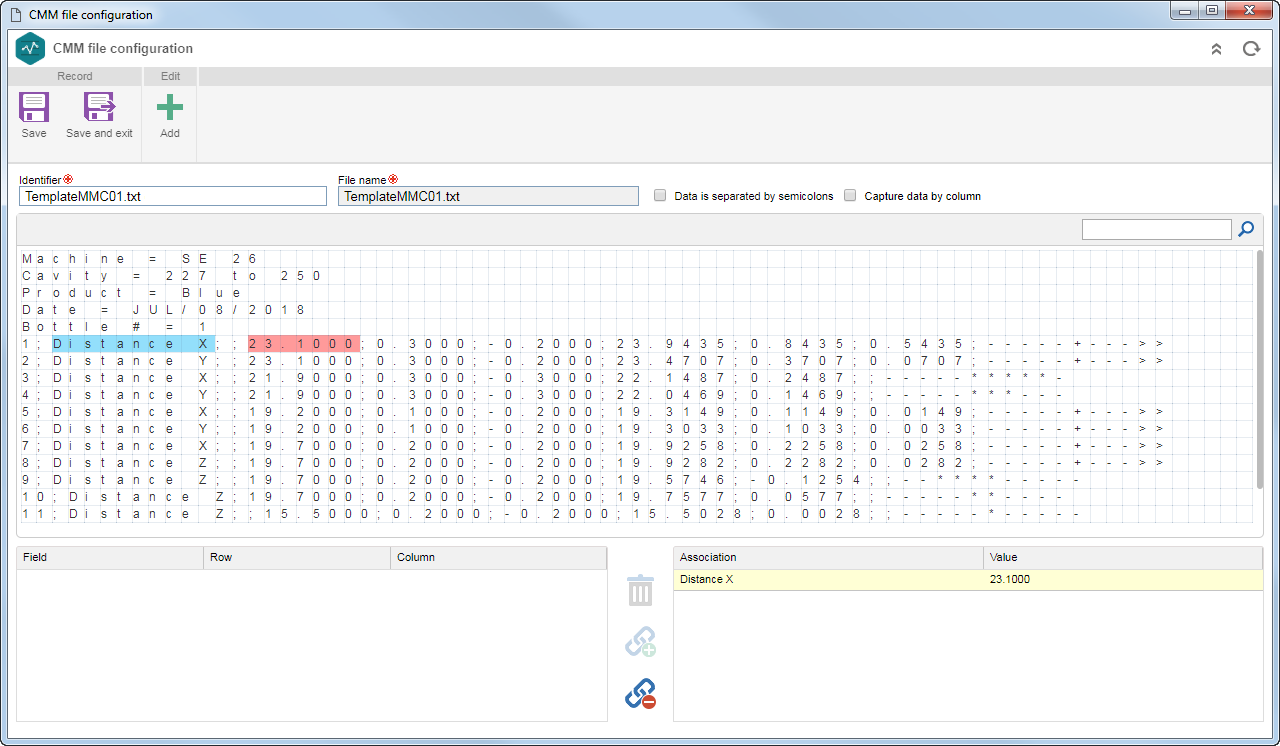
4.At this point, the CMM file configuration screen will be displayed. It will display the following fields:
ID #: This field is filled with an ID # of the imported file, but it is possible to edit it. File name: File name of the .txt or .csv imported. Data separated by semicolons: Select this field to format the data from the imported file in the spreadsheet template. The system will take into account the operator ";" (semicolon) to separate the data from the file into columns. Capture data by column: This option will only be available if the "Data separated by semicolons" field is enabled; in this case, it will enable importing and associating information by column.
CMM file data selectionThe central part of the screen will be available for selecting the file data from the CMM machine. See how to select the data to import:
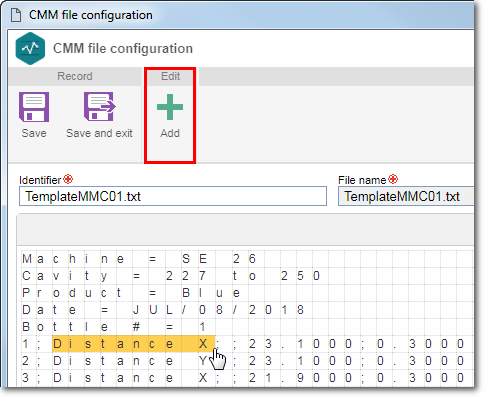
1.First, click and drag the mouse pointer over the cells that contains the information to be imported. Once done, click on the Add button, at the top of the screen:
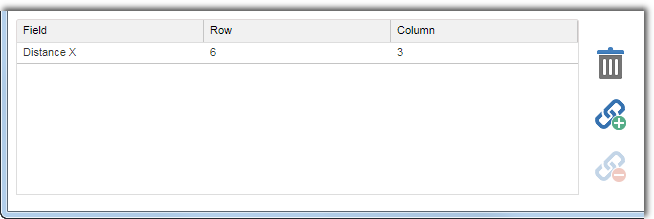
2.At this point, the information will be recorded in the lower left field of the screen.
Repeat the operation by selecting this time the numerical value for the first collected information and click on the Add button again.
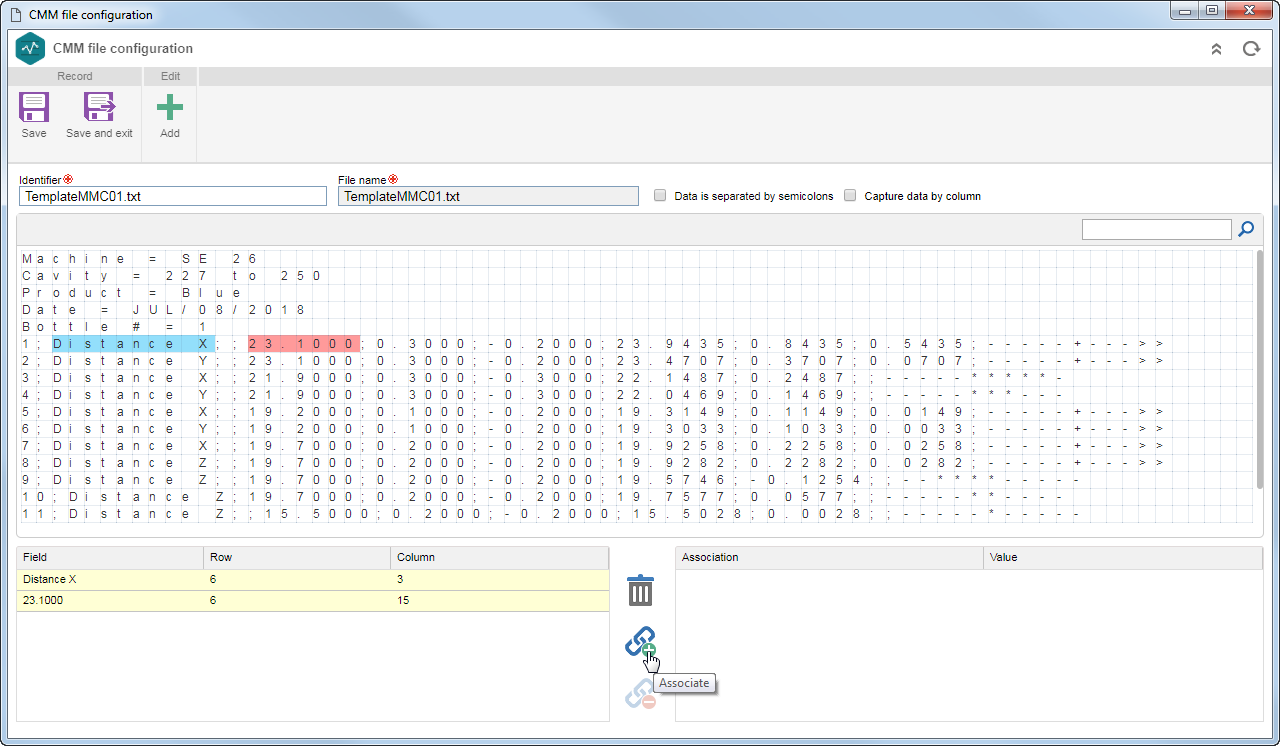
3.To perform the association between the two collected information, hold the CTRL key on the keyboard, first select the information regarding the characteristic and then the corresponding value of the collected information (in this order); once done, click on the Associate button.
4.Once this is done, the imported data will now be related to each other.
Save the record. Repeat this procedure as many times as necessary. |