See how to view the collection result in a quick and easy way in the "View the collection result" topic of the SE SPC Quick Guide!
|
See how to perform the samples data collection:
1. After the collection is configured, it will be available for its samples to be collected. For that, click on the After the collection is configured, it will be available for its samples to be collected. For that, click on the  button. button.
2.The screen that will be displayed depends on whether the characteristic type that will be collected is attribute or variable:

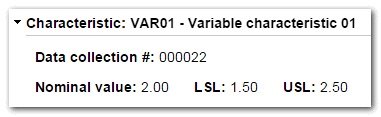
Variable characteristic
|
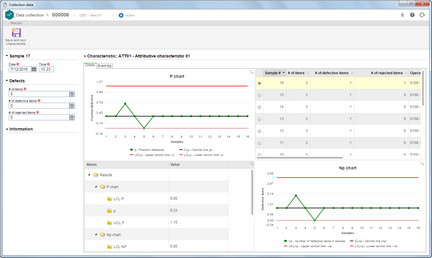
Attribute characteristic
|
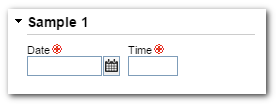
3.In the panel on the left side of the data collection screen, the system will display the Sample section. The number next to it indicates the sample in which the data collection is in:
|
▪Date: Enter the date in which the sample was collected. The system will automatically fill this field in with the current date. ▪Time: Enter the time that the sample was collected. The system will automatically fill this field in with the current time. |
During the execution of the collection of a sample, the system will ask for the data of all the characteristics associated with the object, item, process, or activity.
|
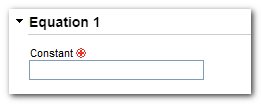
4.The Equation section will only be presented in the data collection of variable type characteristics that possess equations recorded.
|
▪Equation: Enter the equation constant value for the sample calculation. |
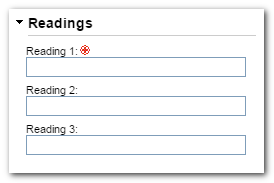
5.The Readings section will be displayed in the data collection of the variable type characteristics. Remember that the number of readings (sample size) is set in the characteristic itself when associating it with the item, process, activity, or object.
|
Variable characteristics are those that may be measured and that contain specific details. Then, inform the data of the variable characteristics for each of the readings in this section.
|
When the Reading field turns red after entering a value, it indicates that the entered value is out of the specification limits, that is, it is out of the LSL and USL ranges.
|
The "Obtain readings" button, at the top of the data screen, will be available if the collection in question is integrated with a properly configured CMM machine (SE Asset). In this case, click on the button to collect the readings related to the objects of this machine.
|
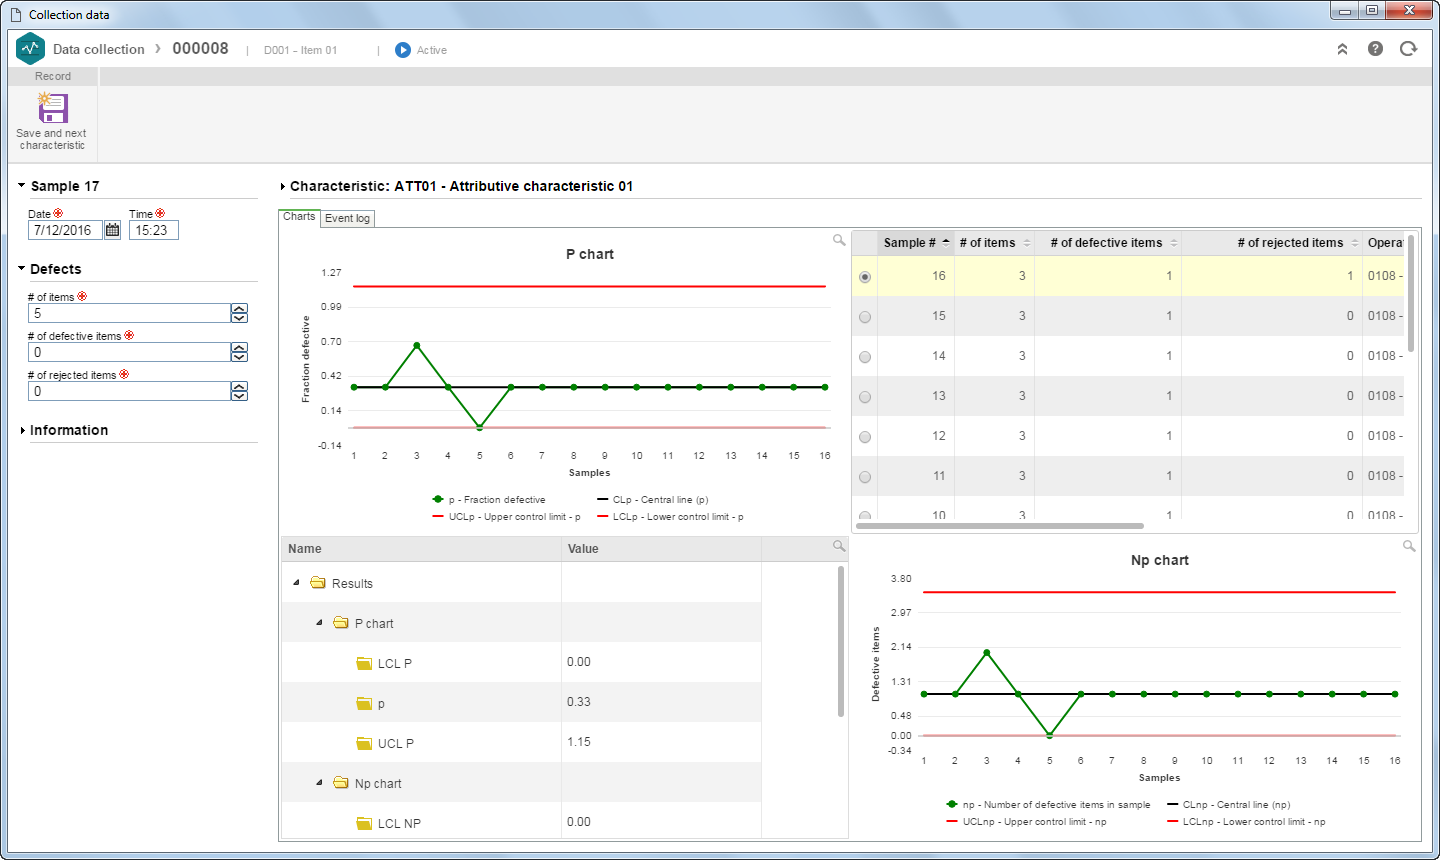
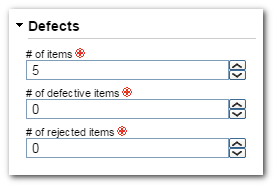
6.The Defects section will be displayed in the data collection of the attribute type characteristics.
|
Attribute characteristics, unlike variable characteristics, are those that may not be measured. Then, the data of attribute type characteristics must be entered in the following fields:
▪# of items: Enter the number of items in the sample. ▪# of defective items: Enter the number of items in the sample that presented defects. ▪# of rejected items: Enter the number of items in the sample. |
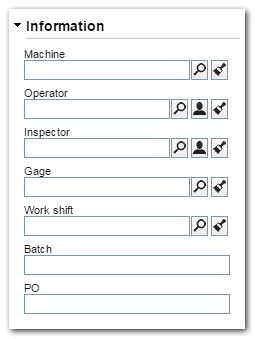
7.Use the Information section to enter the general data about the sample data collection of the characteristic in question. For that, fill in the following fields:
|
▪Machine: Select the machine that will operate the gage. The possible machines are created and controlled through the SE Asset component. ▪Operator: Select the user that will operate the machine. Click on the  button to fill in this field with the logged user data. button to fill in this field with the logged user data. ▪Inspector: Select the inspector responsible for the machine. Click on the button to fill in this field with the logged user data. ▪Gage: Select the gage that will be operated. The possible gages are created and controlled through the SE Asset component. If the selected asset is configured with the "Automated data input" option, in the Readings section, the system will display the "Obtain readings" button, that will allow the readings to be performed automatically. •Work shift: Select the work shift during which the data will be collected. ▪Lot: Enter the item lot number. ▪PO: Enter the production order number. |
8.In the Characteristic section, the system will display the characteristic of the sample being collected, according to its type:
9.Below the Characteristic section, on the Charts tab, the system will display the charts that were configured in the data collection configurations (Details tab  Control panel config. section), according to the characteristic type: variable or attribute. Control panel config. section), according to the characteristic type: variable or attribute.
Remember that in the data collection of the first samples of the characteristics, it will not be possible to generate the charts, that is, the system will not be able to generate the charts until there is enough sample and then, at the location of each chart, the following message will be displayed: "The number of collected samples is not enough to display the chart".
|
▪The charts displayed for each characteristic type were defined in the Data collection configuration, which, in turn, may have been based on the configuration set in the General parameters. ▪The procedure of collecting a single sample will be executed for each of the characteristics defined in the data collection configuration. |
10. Use the Event log tab to enter the occurrences found during the data collection. These records are related to everything that may interfere in the process variation, as well as when an anomaly occurs. Then, when a change is made to the raw material, for example, or the process presents a point out of control, that information must be entered in the event log. The event log may be opened by the system when an occurrence is found, according to the configurations set in the Control panel tab of the General parameters, or it may be opened manually by the user. See more details in the Opening the event log section.
11. Use the Attachment tab to add attachments related to the data collection in question. For further details on how to associate attachments with the record, see the >Adding attachments section.
12.In the Attribute tab, the system will display the attributes that were associated with the data collection configuration. If no attribute was associated, this section will not be displayed. Then, enter the value of each attribute.
After filling the collection data, that is, the data of the Reading or Defect, Information and Attributes sections for each of the sample collections, the collection of the sample in question will be finished. At this point, the system will display the following message: At this point, the system will question whether the collection should continue:
▪When clicking on the "OK" button, the collection in question will be finished; however, the data collection screen will remain open for the data collection of the next sample to be performed. ▪When clicking on the "Cancel" button, the collection in question will be finished and the data collection screen will be closed.
▪If in the data collection configuration the number of samples to be collected was entered, after collecting the entered quantity, the system will no longer allow collecting the data. ▪After collecting the data of a characteristic, if an occurrence is found by the system, the event log will be opened with the corresponding reason. Refer to the Opening the event log section for more details on how to configure this case. |
|