New asset |
|
|
By selecting the "New asset" option, the system will display the import wizard to add new assets to the system. To import assets, it is necessary to follow these steps:
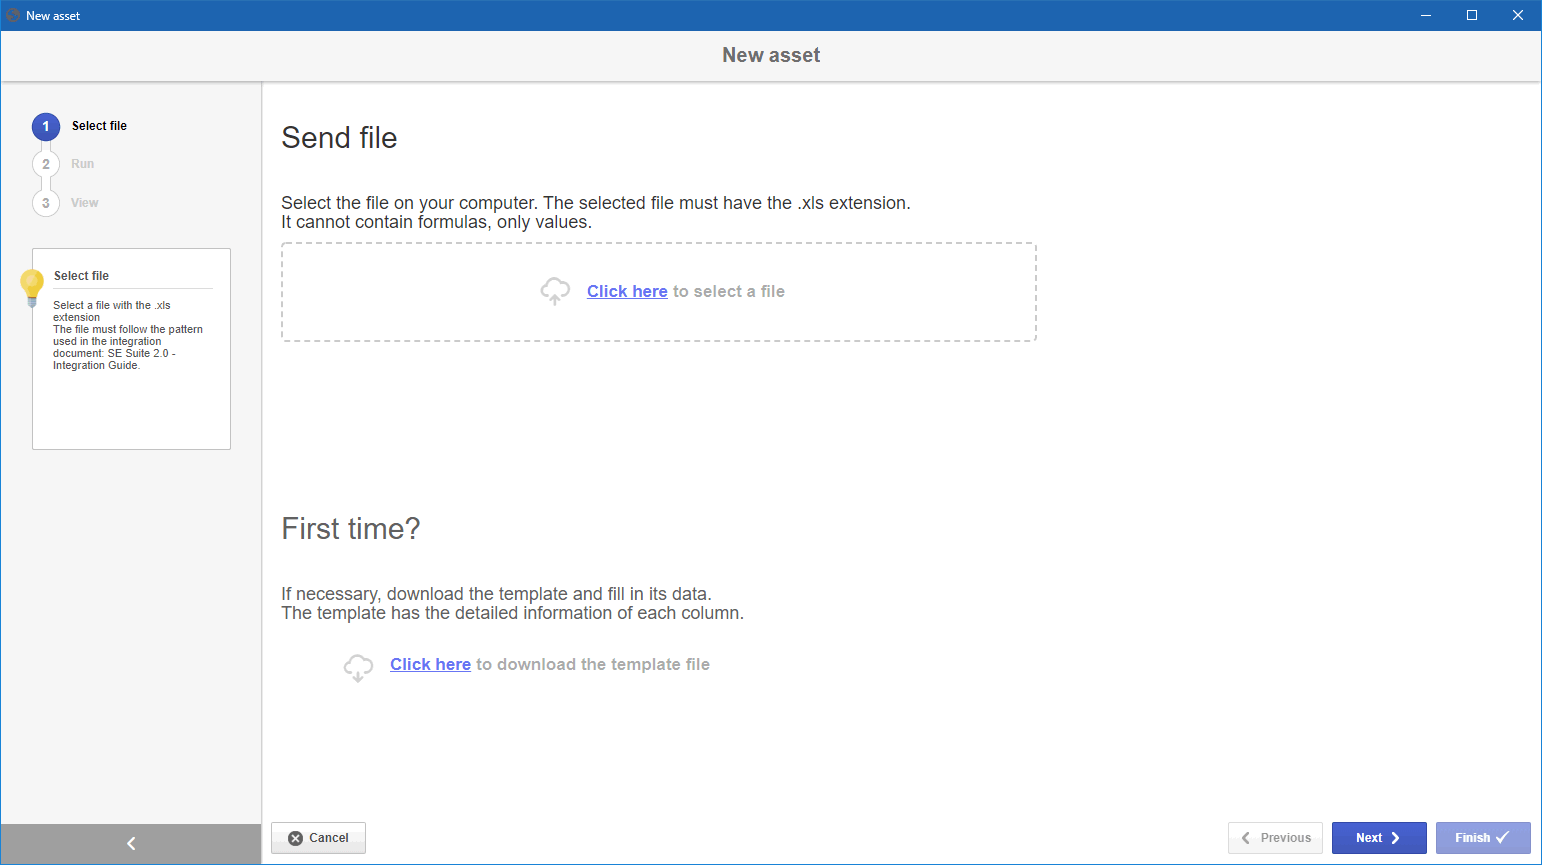
Select fileIn this step, you must select the Excel file filled out with information on the assets that will be added to the system. It is also possible to download a template (ASTASTINSERT.xls) to import the new assets. After downloading the file, fill out the columns with the information of each asset. If necessary, refer to the "Recommendations" tab on the template for more details on what to fill out in each column. After completing the Excel file with all assets to be imported, select the file in the highlighted area and click on "Next".
ExecuteThis step will list the assets filled out in the file selected in the previous step. If necessary, it is possible to delete one or more assets from the listing so that they are not imported to the system. If there is an error with part of the information, return the import to the previous step, correct the Excel file and import it again. If all assets listed in this step are correct, simply click on "Next".
ViewThis step will list the assets that have been imported. If any problems have occurred, the "Error description" column will inform the error. In this case, the correction must be performed in the Excel file and it must be imported again. Click on "Finish" to end the import of the assets. |