Adding docvariables - LibreOffice |
|
|
See in this section how to add docvariables to LibreOffice documents.
To add the docvariable, open the file: ▪Through the Writer itself, before uploading the electronic file to the document. ▪Through the LibreOffice viewer, after uploading the electronic file to the document. See the restrictions and necessary permissions to perform this operation in the Using docvariables in electronic files section.
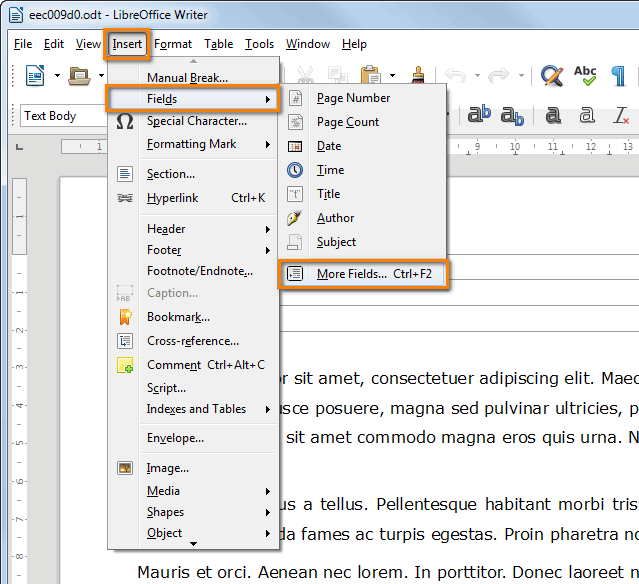
Then, define the location of the file to which the docvariable will be added. In the following example, the docvariable will be added to the header, next to the Document title. To do so, click after the colon to place the marker correctly and access Insert
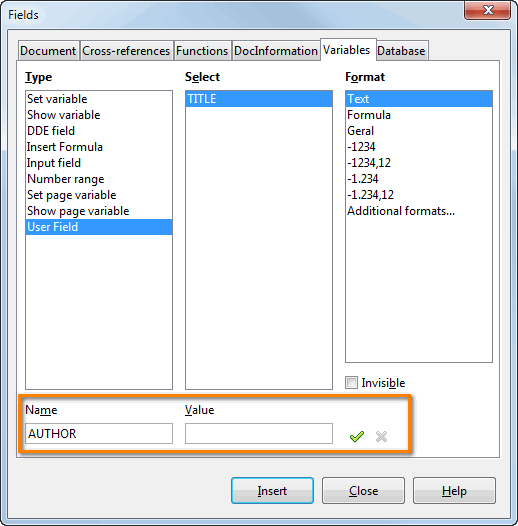
On the Variables tab in the screen that will open, fill out the following fields:
1.On the Type column, choose the User field option.
2.On the Format column, select the Text option.
3.At the lower part of the screen, fill out the Name field with the name of the docvariable that will be inserted in the file and then click on
4.Repeat the previous step to add all the desired docvariables to the electronic file.
5.Select the docvariable displayed in the Select panel, which will be added where the cursor is placed on the text.
6.Click on Insert.
7.Repeat the steps described before, except for steps 03 and 04, to add the docvariables in the electronic files.
Save the changes and close the electronic file. Once this is done, make sure that the field has been filled in correctly with the respective document information:
|