|
To add a new item type, click on the  button on the main screen toolbar. To edit the data of a type, select it in the list of records and click on the button on the main screen toolbar. To edit the data of a type, select it in the list of records and click on the  button. button.
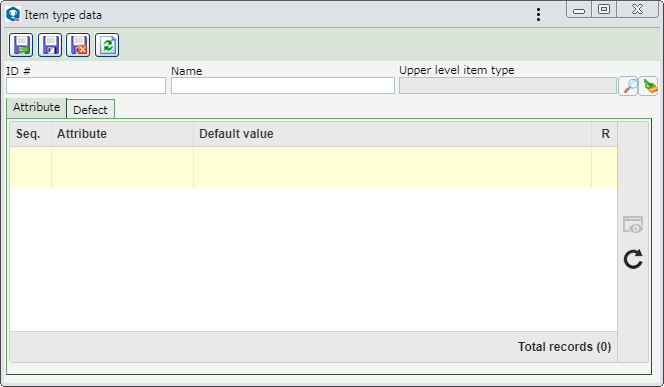
On the screen that the system will open, enter an ID # and a name for the item type. Fill out the Upper level item type field for the type to be hierarchically recorded below the selected type. In this case, select the desired item type. If a type is selected in the main screen hierarchy, this field will be filled out by the system, but it is possible to edit it.

After saving the record for the first time, the following tabs will be available to be filled out:
This tab displays the attributes that complement the information of the items of this type. To do that, click on the  button on the side toolbar and, on the screen that will be displayed, perform the following steps: button on the side toolbar and, on the screen that will be displayed, perform the following steps:
At the top of the screen, fill out the filters that will help you find the attributes associated with the items of this type, and click on the  side toolbar button to perform the search. The respective attributes will be shown in the list of records on the screen. side toolbar button to perform the search. The respective attributes will be shown in the list of records on the screen.
|
Option
|
Checked
|
Unchecked
|
Defect identification
|
Indicates that items of this type may display defects. In the "Defect type selection" section, select the desired option:
▪Any: Any of the defects saved in the system may be associated with the items of this type. ▪Defined: Select, from the list below, only the defect types that may be associated with the items of this type. Use the buttons next to the listing to check all displayed types and clear the checked options. |
It will not be possible to associate defects with the items of this type.
|
|
After performing the desired configurations, save the record.
|


