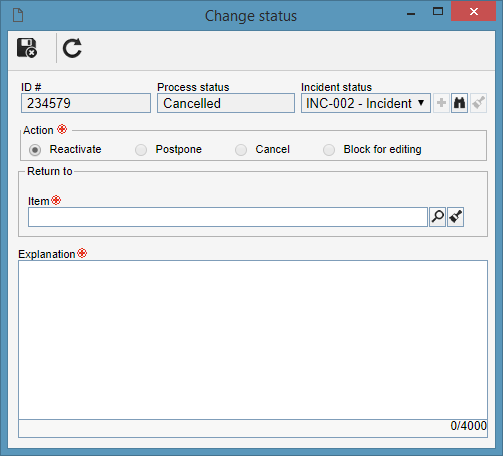
On the edit status screen, the ID # and Status fields are filled by the system with the respective information of the selected incident. The remaining fields on the screen are displayed and/or are enabled according to the status in which the incident is:
Action: Select the desired action to edit the status of the incident:
▪Reactivate: Reactivates an incident whose execution has been postponed, canceled or closed. ▪Postpone: Interrupts the execution of an incident. When reactivating an instance that has been postponed, its execution returns to the activity that was enabled for execution. ▪Cancel: Cancels the execution of an incident. When reactivating a cancelled incident, it is necessary to enter the instance or item to be reactivated. ▪Block for editing: Blocks the execution of the incident, allowing to edit the flowchart modeling. It is important to note that as long as an incident is blocked, it will not be possible to perform its activities. Return to: This field will only be displayed when reactivating an incident that has been canceled or closed. Also, fill out the following fields:
▪Instance: This option will only be displayed if the incident to be reactivated has a sub-process. Select the instance (upper level process or sub-process) to which you wish to return the incident execution. ▪Item: Select the flow item to which you wish to return the incident execution. The system will only display the flow items that have been executed or were enabled for execution before the instance was cancelled. The activity execution information will be kept if the item that had been enabled for execution before the instance was cancelled is selected. Explanation: Enter an explanation to the action previously selected. The explanation entered may be viewed in the History section on the incident or activity data screen.
In order for the starter, instance manager, and executors of the incident activities to be notified about the previously selected action, it is necessary to make the appropriate settings on the process data screen (Configurations  Notification section). Notification section).
|
|