|
Data is recorded in a very similar way in SE Suite. See next how to create records in the system:
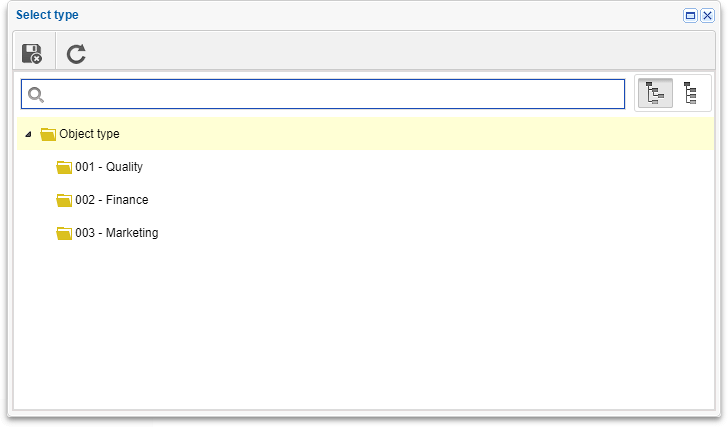
1.To create a record, first, access the desired menu and click on the  button located on the button bar. If any type/category, of the object's type hierarchy, has been selected in the Search filters panel, then, the data screen of the object that is being created is displayed. However, if no type/category is selected in the Search filters panel, then a screen will be displayed to set the type/category of the object: button located on the button bar. If any type/category, of the object's type hierarchy, has been selected in the Search filters panel, then, the data screen of the object that is being created is displayed. However, if no type/category is selected in the Search filters panel, then a screen will be displayed to set the type/category of the object:
If the category or type that will classify the object is not created, then it is necessary to create the object type/category first so that it is possible to create the object. To do this, if you have access to the Configuration menu, create it, otherwise, request the creation to your manager.
|
2.After selecting the object type/category, click on the  button for the object classification to be applied. button for the object classification to be applied.
3.The data screen of the object that is being created will be displayed. Fill out the required fields, that is, the fields that have the symbol  . Normally, the object ID # and Name must be filled out, but if the object type has an identification mask, the ID # can be filled out automatically by the system. . Normally, the object ID # and Name must be filled out, but if the object type has an identification mask, the ID # can be filled out automatically by the system.
Some required fields are specific for each component. See the component documentation for further details.
|
4.Click on the button to save the record.
Some records can generate tasks after being saved, such as plan, approve, etc.
|
|