Confirming the receiving of objects |
|
|
See how to confirm a receiving and set the location where the object will be stored in the storeroom:
1.On the main screen, locate and select the transferred object that will be received in the storeroom.
2.After that, click on the
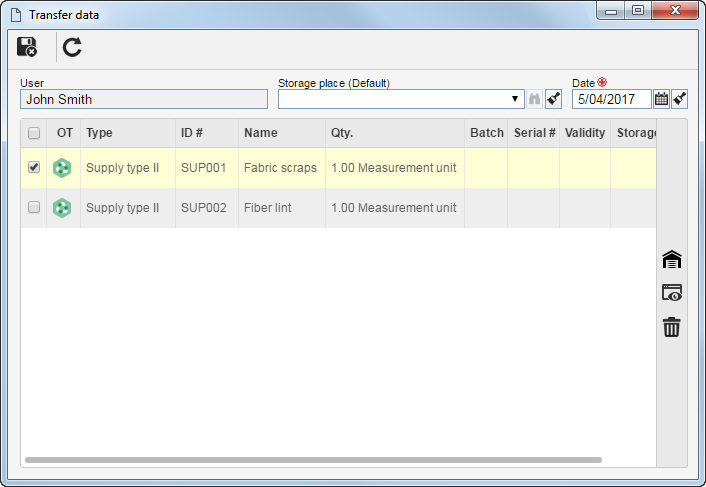
3.Fill in the following fields on the data screen that will be displayed:
User: This field is completed by the system with the name of the user who is confirming the receiving. Storage place (Default): Select, from those contained in the storeroom, the place/repository in which the objects being received will be stored by default. Date: Select the actual date on which the objects will be delivered in the storeroom.
4.In the list of records at the bottom of the screen, the system displays the transferred objects that will be received in the storeroom and the default location they will be stored in. If needed, use the following buttons:
5.After filling in the necessary fields, save the record. At this point, the objects will be added to the stock in the appropriate storage places/repositories. |