|
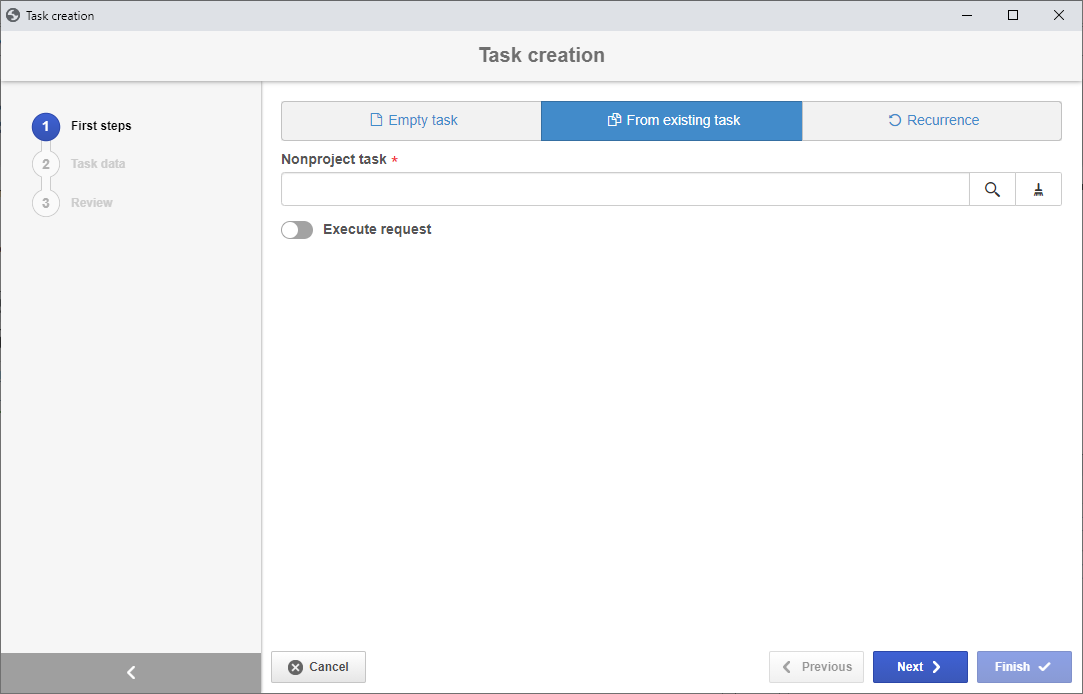
To add a nonproject task from a task previously added to the system, click on the arrow on the toolbar of the main screen next to the  button and click on the Create task using wizard option. At this point, the creation wizard will be opened. button and click on the Create task using wizard option. At this point, the creation wizard will be opened.

Select the From existing task option and configure the following fields of each of the step below:
Fields
|
|
Nonproject task
|
Locate and select an already saved task that will serve as a template for the nonproject task being created.
|
Execute request
|
Enable this option to execute task creation requests issued via SE Request. At this point, the system will display a list with all the requests that the user who is creating the task is responsible for the execution. Select the request that will be executed with the creation of the task in question. In order for this feature to function properly, it is necessary for the SE Request component to be part of the solutions acquired by your organizations. Refer to the specific SE Request component documentation for more information on the responsible for executing and issuing requests. The request execution may also be performed through the Request execution task. If the wizard is accessed through this task, the "Execute request" option will not be displayed. If you do not wish to execute requests with the task in question, do not enable this option.
|
Click on the Next button, at the bottom of the assistant, to access the next step in which it is located.
|
Task data
|
|
ID #
|
Enter a number or code to identify the task or use the arrow next to this field to generate an automatic ID #. If the use of identification mask was configured in the task type, at the moment of generating the automatic ID #, the respective mask will be shown. The ID # generated by the mask may only be edited if the "Enable ID # change" option is checked on the task type data screen. If the use of identification mask is not configured, but the "Is the nonproject task ID read-only?" option was checked in the general parameters, it will not be possible to edit the ID #.
|
Name
|
This field will be filled out by the system with the name of the task from which you are creating the task in question, but it is possible to edit it. In that case, enter the name of the nonproject task being created.
|
Responsible for the task
|
Define the user that will become responsible for tracking the task.
|
Responsible for the execution
|
Define the user who will be responsible for executing the task.
|
Responsible team for execution
|
Select the team that will be responsible for executing the task. Use the other buttons next to the field to add a new team and use it as the responsible team and clear the field.
|
Copy options
|
Enable the options corresponding to the information you wish to copy to the new task.
|
|
▪When the team responsible for the execution cannot execute the task, it will not be displayed in the execution tasks of the other team members. ▪After disassociating the user responsible for the task execution, an execution notification e-mail will be sent to the team. |
After filling out the required field, click the Finish button.
In the Review step, the system will display an overview of the task creation. Through the Task data option, it is possible to access the created task data screen to perform the necessary edits. Click on the Close option to close the creation wizard.
|


