|
To add a new position, click on the  button on the main toolbar. To edit the data of a position, select it in the list of records and click on the button on the main toolbar. To edit the data of a position, select it in the list of records and click on the  button. button.
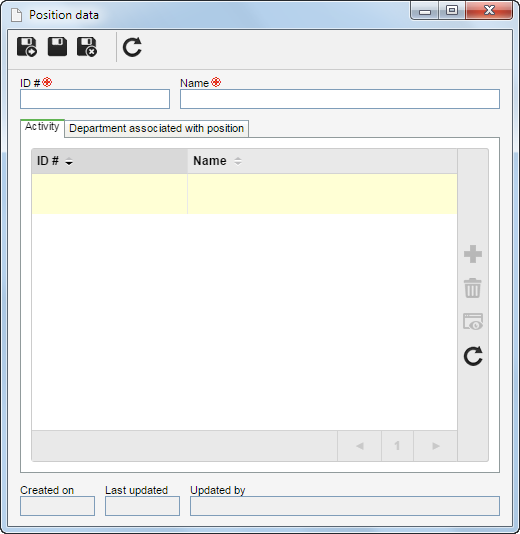
On the screen that will be opened, enter an ID # and a name for the position.

After saving the record for the first time, the following tabs will be available:
On this tab, it is possible to manage the activities that are under the responsibility of this position. On the side toolbar, the following buttons are available:

|
Click on this button to associate an activity with the position. On the screen that will be displayed, select the desired activities. Use the SHIFT or CTRL keys on the keyboard or check next to each activity to select more than one record at a time.
|

|
Click on this button to disassociate the activity selected in the list of records from the position.
|

|
Click on this button to view the data screen of the activity selected in the list of records.
|
|
On this tab, it is possible to manage the departments to which the position belongs. On the side toolbar, the following buttons are available:

|
Click on this button to associate a department with the position. On the screen that will be displayed, select the desired departments. Use the SHIFT or CTRL keys on the keyboard or check next to each department to select more than one record at a time.
|

|
Click on this button to view the relationship between the department and the position selected in the list of records. On the screen that will open, it is also possible to enter a description for the relationship.
|

|
Click on this button to disassociate the department selected in the list of records from the position.
|

|
Click on this button to visualize the data screen of the department selected in the list of records.
|

|
Click on this button to map the requirements needed to perform the position in question. See further details about the screen that will be displayed in the Organizational mapping - Interface section.
|
|
After performing the necessary configurations, save the record.
|


