Importing computers manually |
|
|
In SE Asset, it is possible to configure an import scheduling for computers, but it is also possible for the import to be executed manually. See below how to import computers manually:
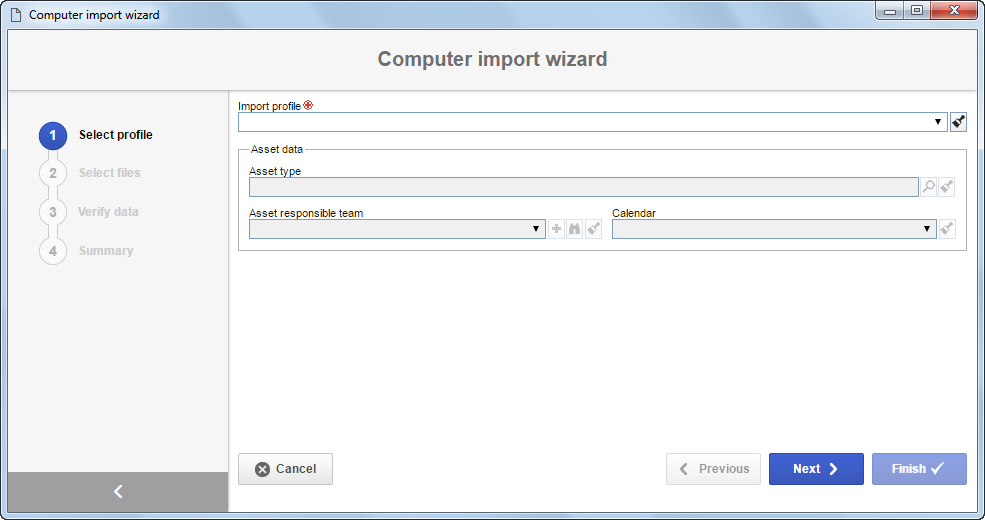
1.On the main screen toolbar of the "Management
2.In the Select profile section, select the profile that will be used to import the computer. The Asset data will automatically be filled in according to the configurations set in the selected profile. After selecting the profile, click Next to go to the next step.
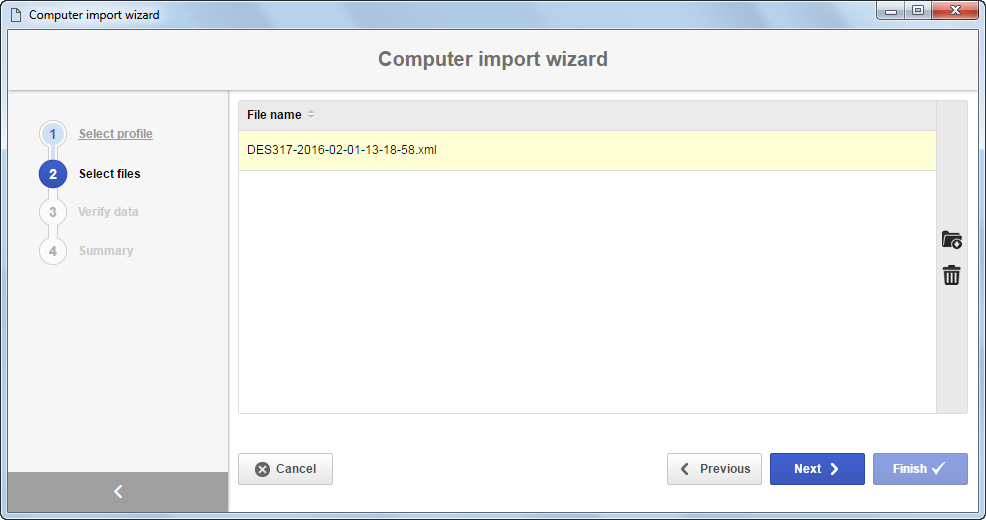
3.
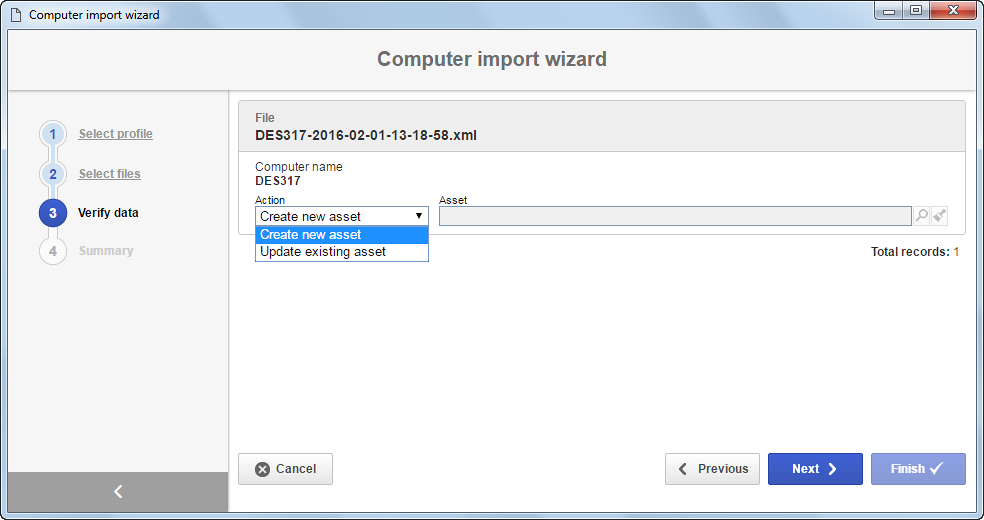
4.In the Verify data step, define the action to be executed for each computer that will be imported. It will be possible to Create a new asset or Update an existing asset. After defining the actions for each asset, click Next to perform the import.
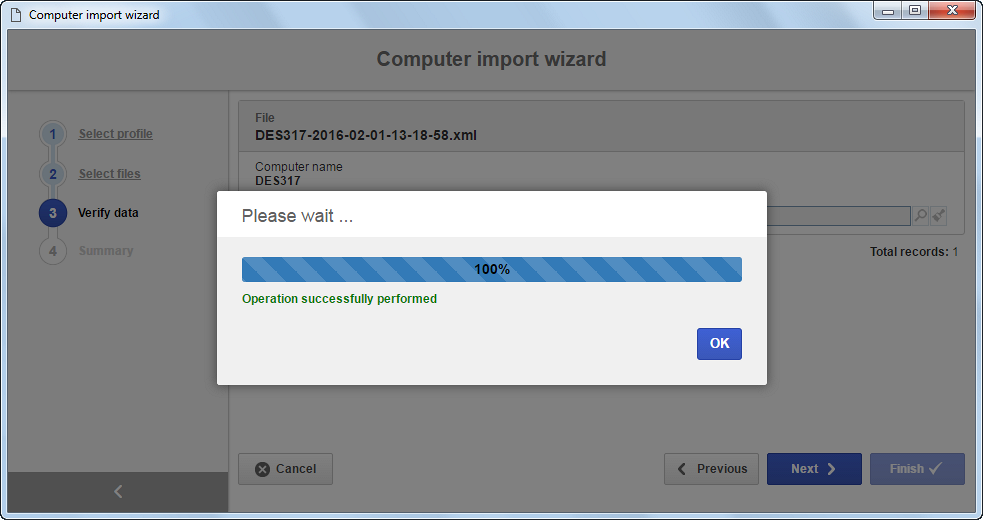
5.At this point, the system will ask whether you wish to perform the import. If confirmed, then the import will start. Click OK to go to the next step.
6.The Summary step will display a summary of the computer records (assets) that have been created or updated. Click on the Finish button to finish the import.
|