Starting a verification activity |
|
|
After that, click on the
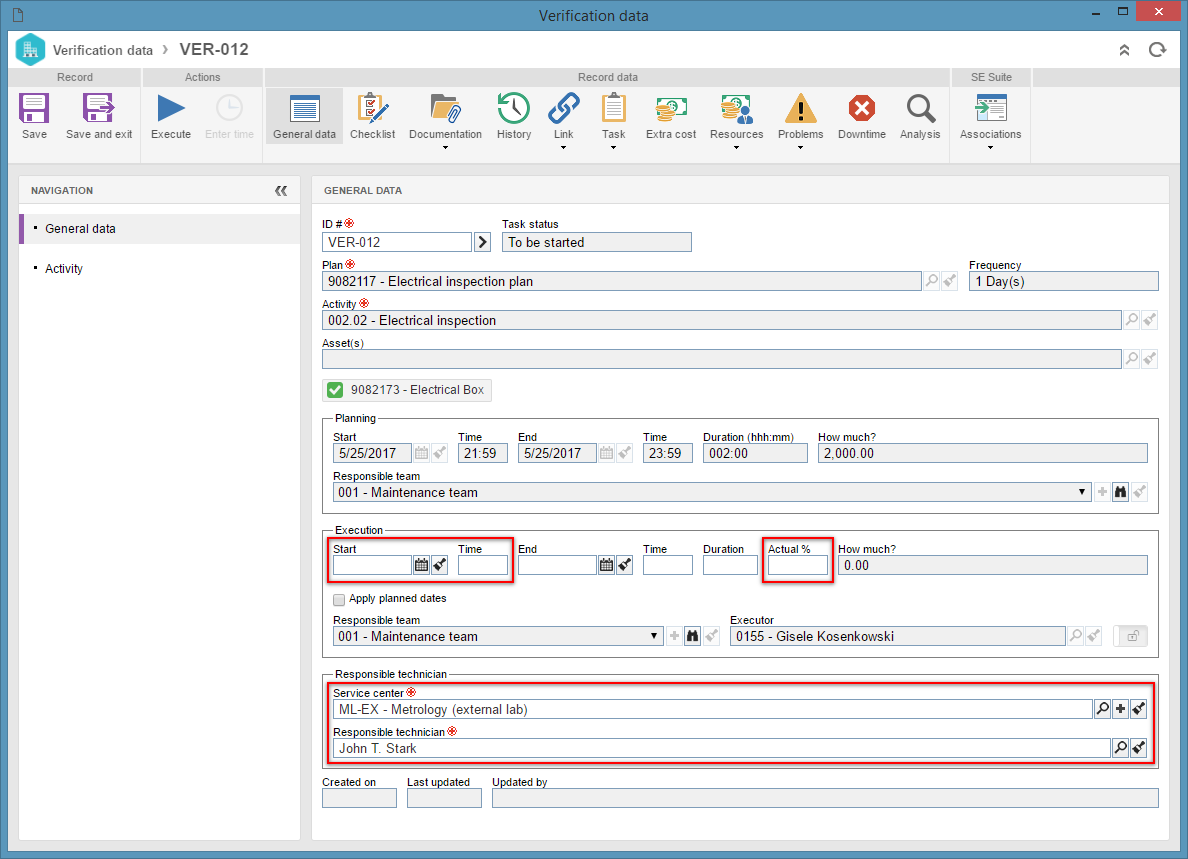
In the General data
Execution: Enter the data related to the start of the verification activity execution: ▪Start: Enter the start date of the verification. ▪Time: Enter the start time of the verification. ▪Actual %: Enter how much percent of the verification has already been performed. The system only considers the activity as started when this field is filled in with a value between 1 and 99. If this field is filled in with 100%, the activity execution will be finished. Responsible technician ▪Service center: Select the service center responsible for performing the verification of the assets of this activity. ▪Responsible technician: Select the technician responsible for performing the verification of the assets of this activity. Only the technicians of the service center selected previously will be available for selection.
Save the verification data. At this point, the verification status will change to the "Execution" step.
|