Create an analysis tool |
|
|
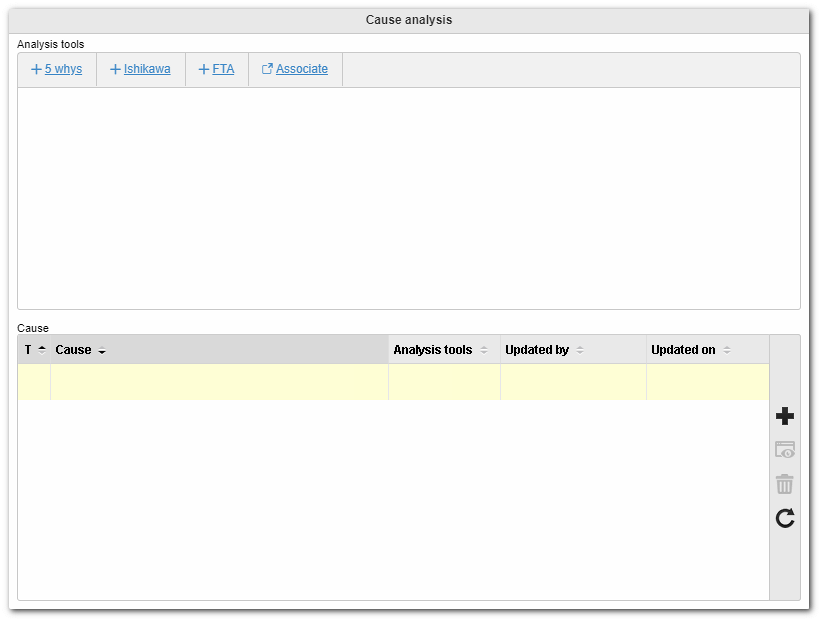
The input and the association of causes and analysis, through analysis tools, are performed on screens similar to the following image:
Analysis toolThe following options are available in this section:
▪5 Whys: Select this option to register an analysis using the "5 Whys" tool. See further details in the 5 Whys section. ▪Ishikawa: Select this option to register an analysis with the "Ishikawa" tool. See further details in the Ishikawa section. ▪FTA: Select this option to register an analysis using "FTA" tool. See further details in the FTA section. ▪Associate: Through this option the user can associate an analysis tool already created in another record. After clicking on this option, a selection screen will be displayed, which will allow you to find a previously registered analysis. Therefore, use the search filters to find the desired analysis tool, select it and save it. At this point, the analysis will be associated with the record. View the 5 Whys, Ishikawa or FTA sections if you need to edit some information of the associated analysis tool.
After adding or associating an analysis, a preview of the analysis shaped in its respective tool will be displayed. When you hover the mouse over that preview, some buttons, which allow the following operations, will be displayed:
▪Edit: This option is displayed for analysis that were created in the Analysis tools section. Click on this button to edit the analysis. ▪View: This option is displayed for analysis that were associated in the Analysis tools section. Click on this button to view the data screen of an analysis. ▪Delete: Click on this button to disassociate the analysis from the section. ▪Reduce: By clicking on this button, the analysis preview will have its size reduced (zoom out). ▪Enlarge: By clicking on this button, the analysis preview will have its size enlarged (zoom in). ▪Fit to window: By clicking on this button, the analysis preview will have its size adjusted to the section size. ▪Save as image: By clicking on this button, the analysis preview will be saved as a .png image.
CauseIn this section, the causes associated with the analysis, registered or associated in the Analysis tools section, will be displayed. However, this section allows the input of causes (root or potential) when the defect or problem does not need the cause to be analyzed through a tool. To do this, use the buttons displayed in this section:
|