
Portal comments by card
It is now possible to add comments by card in the portal panels!
Comments allow sharing a conversation on data discovery with other portal users, engaging in communication with information centralization.
See how easy it is to use this feature:
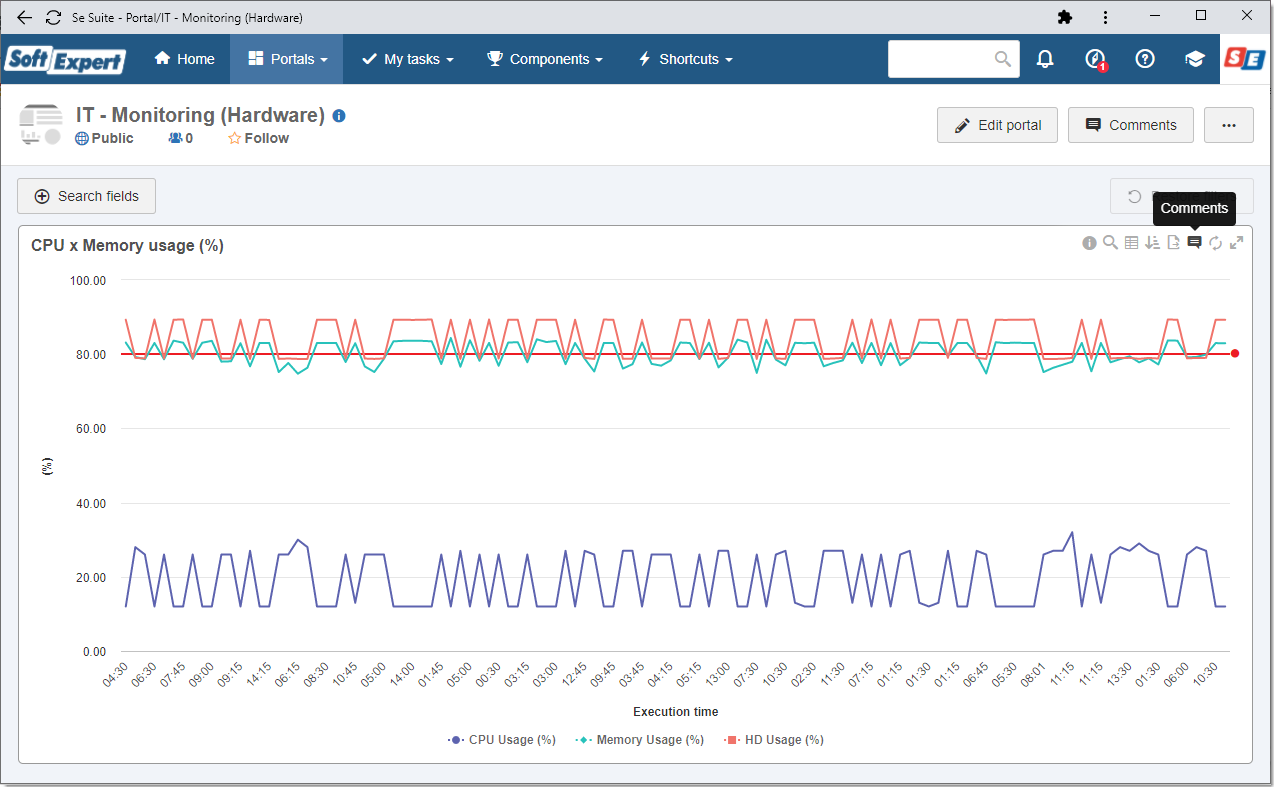
1.Go to the desired card and click on the Comments button.
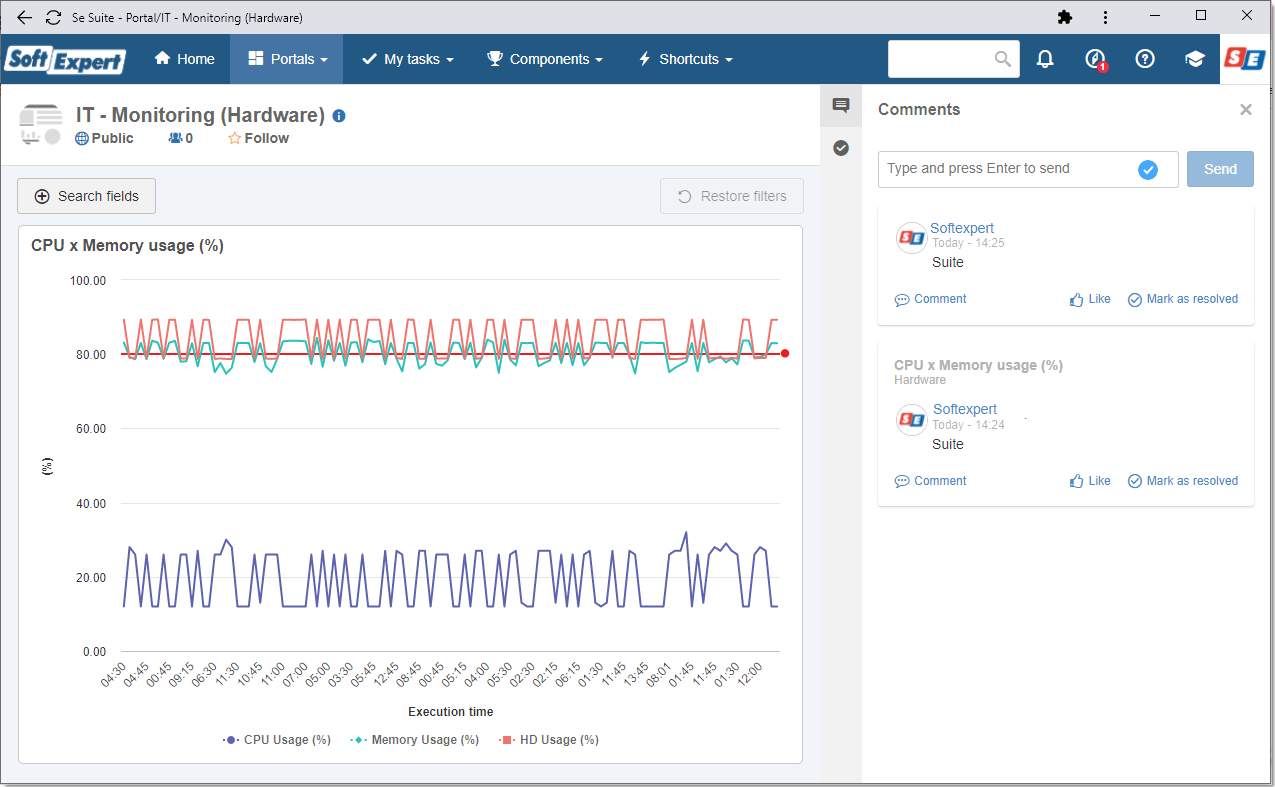
2.The card will be expanded and a side screen will be opened to add the comments of the selected card.

3.You can also return to all comments through the link on this screen or through the Comments button on the upper right corner of the portal.

Thus, it is possible to check all added comments per "discussion" and, if necessary, select the comment of a card that has already been opened for communication.
Portal import and export
This version brings new data management resources to make work more efficient.
On each portal, in the "More actions" button, it will now be possible to export it in general, with the possibility of importing it to the same environment or another, as long as it is from the same company(1).
See how to use portal export:
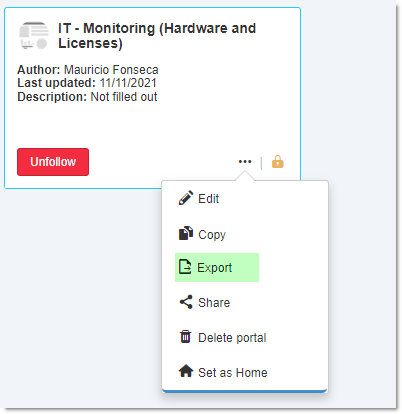
1.In the desired portal, click on the More actions button and select the "Export(2)" option on the list.


2.It is also possible to execute the export through the portal list (All portals in the Portals menu).
3.Click on the More actions button that is displayed in the portal when hovering the mouse over it and select the "Export(2)" option on the list.
Important information on this feature!
▪This version does not have integration with all SoftExpert Suite components for now. Thus, information that is not exported will be listed in the log file on the export screen.
▪Visions and analyses from the Analytics component and some generic cards from SoftExpert Suite will be exported in this version, but if the user does not have security permission in the record of these components, a default message will be sent in the import, as the exported file will not stop being concluded, that is, even if the other components do not have integration yet, the portal will be successfully exported, and it may generate the log file with the warnings.
▪Such information, when imported, will be displayed with a default system message so it can be manually handled or deleted when finishing the import (the user will be redirected to the portal after finishing the import).
See how to use portal import:
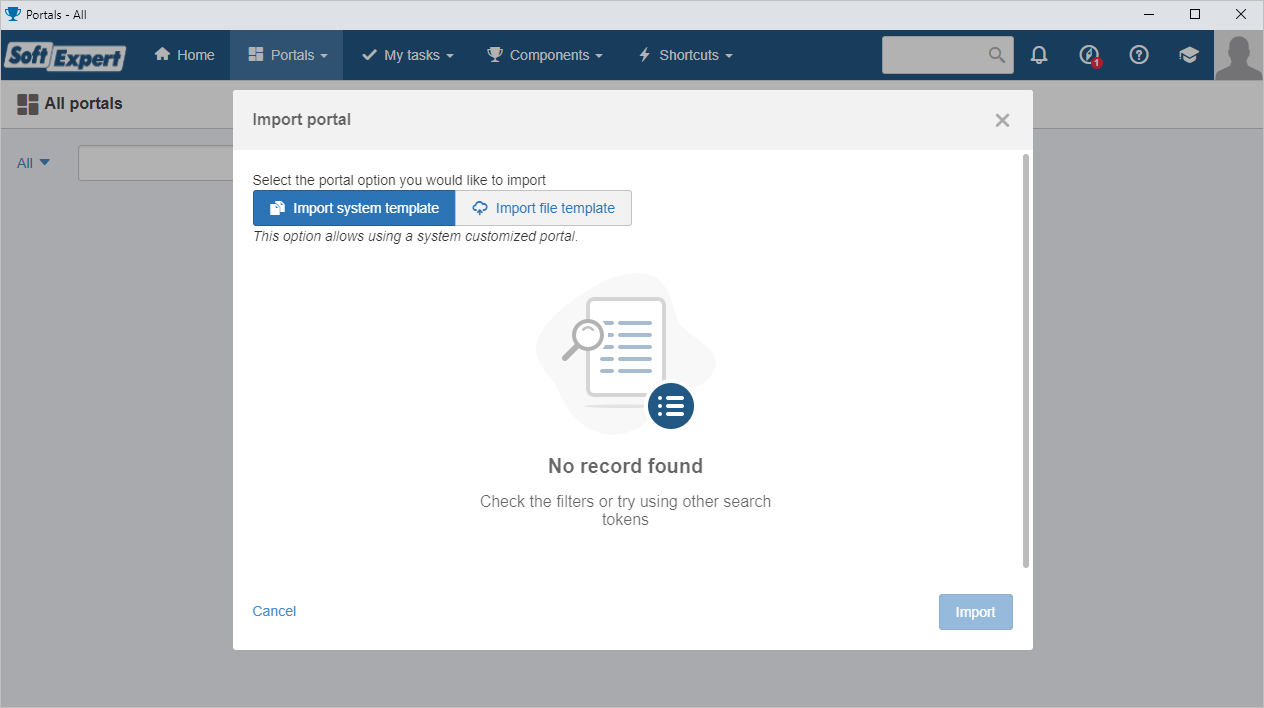
In portal import, two options will be made available through the portal list (All portals in the Portals menu), in the More actions  Import portal(2) option: SoftExpert Suite templates or file selection from your computer.
File selection from your computer:
1.When selecting a file from your computer to import to SE Suite, always check the file, as it must have the ".sewor" extension. For example: PORTAL.sewor.
2.After selecting the file for the desired portal, simply click on the Import button and wait for it to be finished.
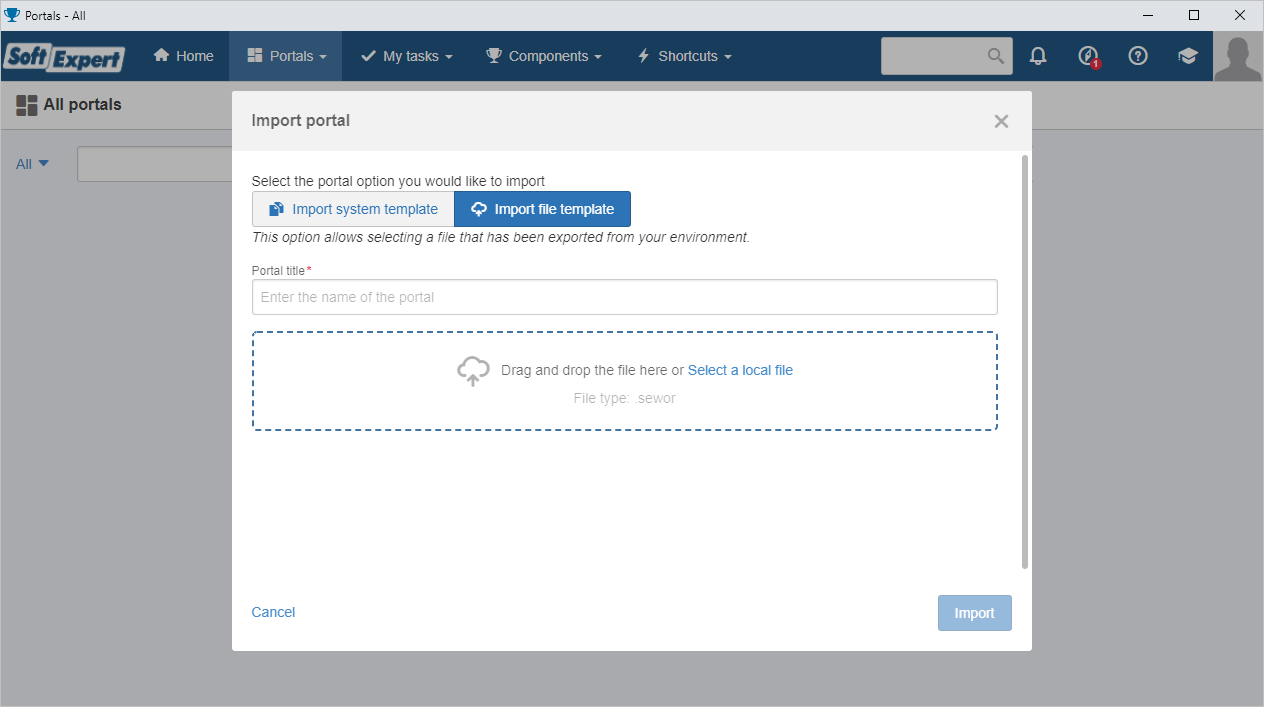
SoftExpert Suite templates:
Default system portals will be listed on the screen; if you wish to import them, simply click on an option and click on "Import"!
Attention! ▪There is no impact to the portals that are already available in the system! ▪Portals that were made available by SoftExpert created during the implementation or the update of the system will no longer work in this format from this version onwards. ▪For better management, companies can now import only the portals they truly need for their management processes; from the new portals in the template format, the users are able to edit them, as this is not possible in current portals (only through portal copy). |
Portal classification
Aiming to keep the portal list manageable and a list to "call your own", the SoftExpert team has released portal classification in this version.
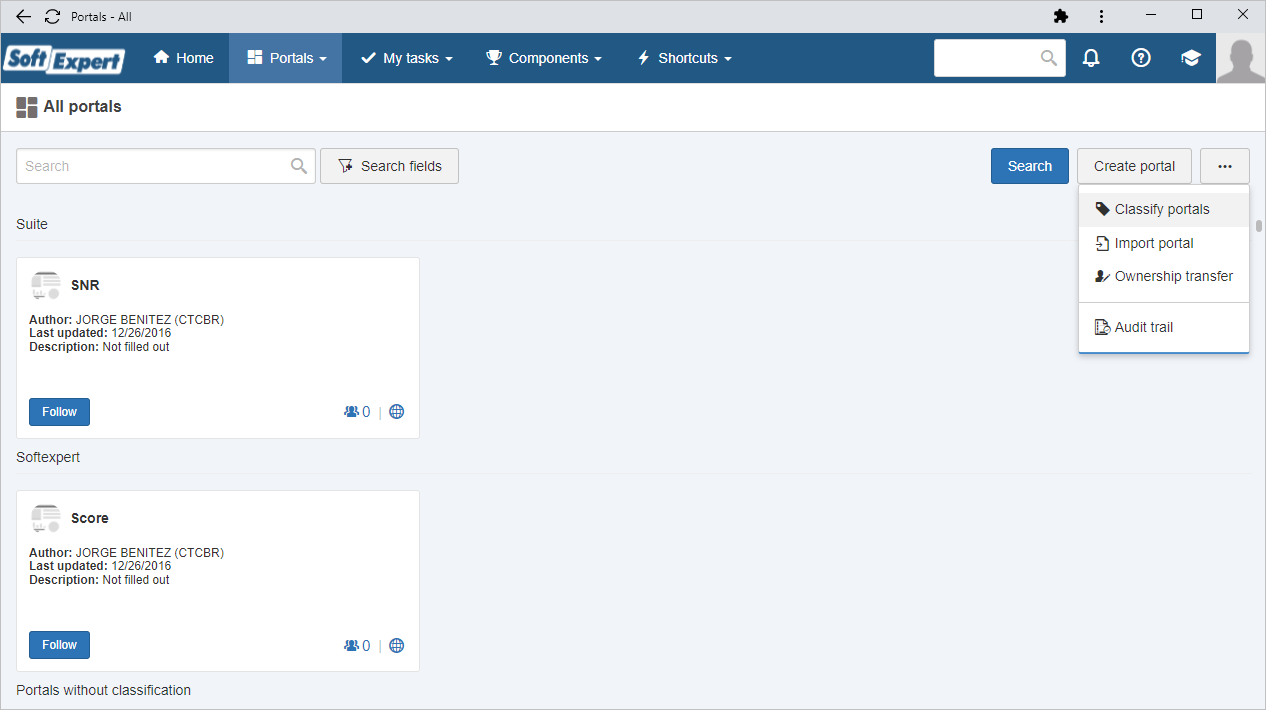
In this new feature, it is possible to manage categories through the More actions button in "All portals" in the "Portals" menu, through the "Classify portals(2)" option.
When creating the categories, it is possible to link the portals to engage the communication of several matters according to the management process needs of the company.
Customize the list through the Filters button to save it exclusively to your user!
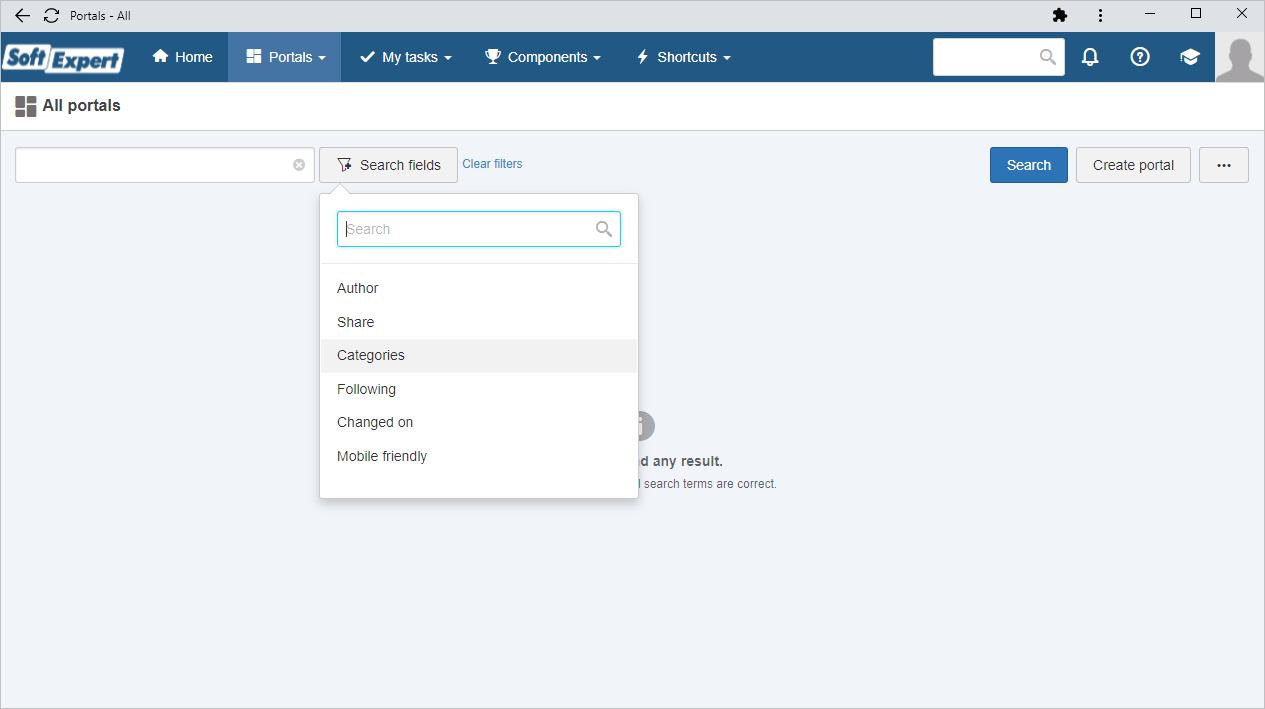
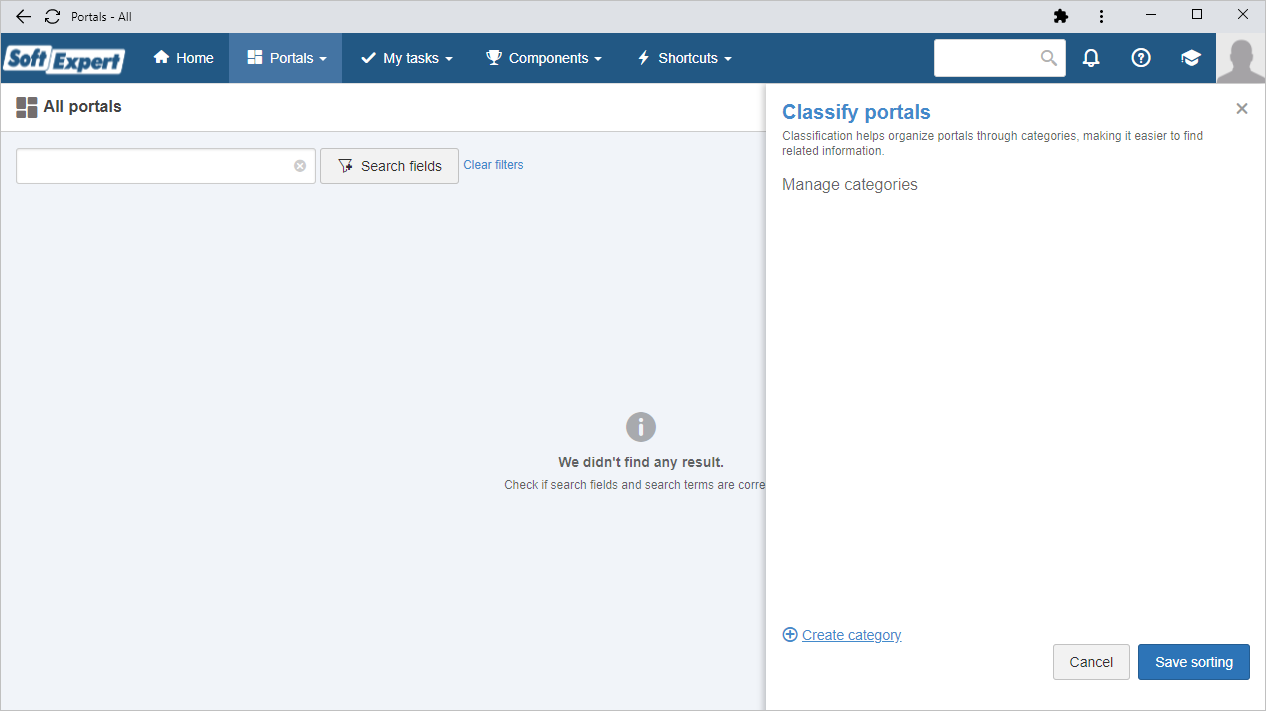
Even if you do not have permission to create or edit categories, the portal list customization will be saved for your used as mentioned above, including its sorting (which can be performed through the side screen by accessing the Classify portals option).

It is also possible to view which portals are linked to the created categories.

Management was also added to the direct access to the portal, with the application of improvements in the create and edit mode. It is possible to add the initial portal information in a centralized way through a side screen equal to the portal classification.


Previous versions
View also the improvements made to this component in previous versions:
