Editing verification activity data |
|
|
See in this section how to edit the data of a verification activity. Some information can only be edited if the activity is in planning or execution; however, each status will be identified in the description.
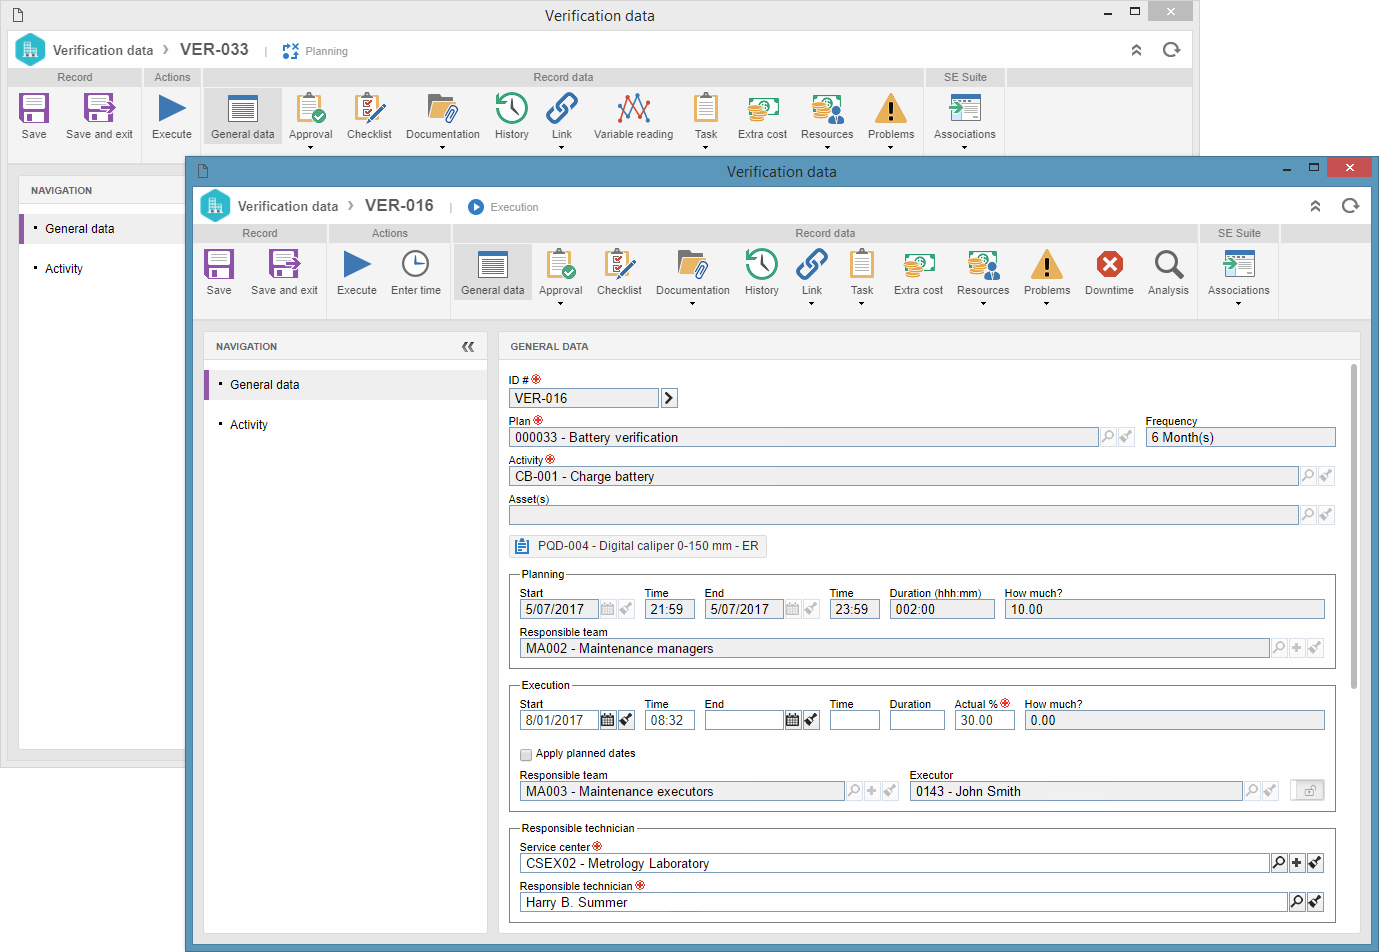
General dataThis section displays general information about the verification activity, divided into the following subsections: General dataGeneral data about the verification activity should be entered in this subsection. It is important to remember that some fields are only enabled when the activity is in a particular step. See below, how and when fields can be filled out: ID #: ID # of the verification activity. This field may be disabled for editing if the mask feature is configured not to allow the ID # to be edited. Planning: In this section, the system displays the information regarding the planning of the verification activity. Planning step: If the activity is in the planning step, the fields referenced in this section will be available for completion. Therefore, complete the following fields: ▪Start: Enter the start date and time of the verification programming. This field is filled with the current date and time, but it is possible to change them. ▪End: Enter the end date and time of the verification programming. The Duration field will be automatically calculated by the system. ▪Responsible team: This field will be filled with the team defined for the activity programming. Execution step: If the activity is in the execution step (to be started or under execution) the planning information will be available for viewing only. Execution: This section presents the information regarding the execution of the verification activity. Planning step: If the activity is in the planning step, the information regarding the execution of the verification activity is disabled. However, it will be possible to edit the Responsible team for the execution of the verification. To define a specific performer, enable this option by clicking on the button next to the Executor field, and then select the user who will execute the verification. Execution step: If the activity is in the execution step (to be started or under execution), the fields regarding this section will be available for completion. Therefore, complete the following fields: ▪Start: Enter the start date of the verification. ▪Time: Enter the start time of the verification. ▪Actual %: Enter how much percent of the verification has already been performed. The system only considers activities as started when this field is filled with a value greater than 1. To keep the activity under execution, a value between 1 and 99 must be entered. If this field is filled in with 100%, the activity execution will be finished. ▪Responsible team: This field will be filled with the team defined to perform the activity. Responsible technician: The completion of the fields in this section is mandatory in the verification activity execution step. ▪Service center: Select the service center responsible for verifying the assets of this activity. ▪Responsible technician: Select the technician responsible for verifying the assets of this activity. Only the technicians of the service center selected previously will be available for selection. Description: In the planning step, it is possible to enter a description about the verification activity, while in the activity execution step, the description will be displayed for viewing purposes only. This field has the Rich text editor, which allows the user to highlight the important points that may help the user during the activity. The feature lets you format text (set or change font type, size, and color, apply bold, italic, and underline), format paragraphs, insert tables, links, and images. Priority: It is possible to define the priority of verification plan activities. In that case, select the desired evaluation method in the respective field. After that, the evaluation criteria will be displayed. Select the desired value for each criterion that will be displayed. The method to enter the available values and criteria will vary according to the configurations made in the selected method. The Result field will be filled out according to the values selected in the evaluation method criteria.
AttributeThe attributes of the verification plan are displayed in this subsection. During the planning step, the attributes listed may be filled out but not required. In the execution step, the attributes defined as required must be filled out.
ActivityGeneral information about the verification activity is available in this subsection. Fill in the following fields: Activity classification: Select the activity classification of the activity in question. Procedure: Select the procedure to follow when performing the activity. Remember that, if there is an integration with SE Document, the system will display the records from that system. Otherwise, the system will display the records created through the File Location: Enter the location where the verification activity will be executed. Responsibility route: Routes responsible for approving the programming and carrying out the verification activity. These routes are configured in the standard activity associated with the asset verification plan. Description: Use this text field to make a necessary description of the verification activity. Action taken: Use this text type field to describe the actions taken during the execution of the activity. This field will only be displayed if the activity is in the verification execution step. This field has the Rich Text field, which lets the user highlight the important points that were run during the verification activity. The feature lets you format text (set or change font type, size, and color, apply bold, italic, and underline), format paragraphs, insert tables, links, and images.
ApprovalThis section will only be displayed if the verification plan standard activity has the approval step configured. In this section, the system will display information about the approval step of the Planning and Execution verification activity. Select the desired subsection and fill in the fields as needed. Remember that if the activity is in the execution step the Planning section will not be displayed. The completion of some fields in this section depends on the approval configuration performed on the associated standard activity in the verification plan. Responsibility route: Responsibility route that will approve the planning/execution of the activity. Filling in this field depends on the route type associated in the standard activity: ▪Variable: For this type, it will be allowed to select any other responsibility route in the respective field, change its members or even associate new responsible parties. ▪Fixed: For this type, it will be allowed to select any other responsibility route in the respective field; however, its members CANNOT BE CHANGED. ▪Fixed & unique: For this type, no changes will be allowed. In this case, the information about the responsibility route will be available FOR VIEWING PURPOSES ONLY. Approval type: Select whether the approval type will circular or incremental. Cycle: This field indicates the approval cycle. Wait for all members approval: If this field is checked, it indicates that the record will only continue to the next step when all route members release their tasks.
Checklist This section will only appear if there is any checklist configured in the verification plan. Remember that the checklist of the verification plan is defined during the recording of the plan when copying or inheriting the data of the standard activity. In the planning step of the verification activity, the checklist will be displayed for viewing purposes only. In the verification execution step, the checklist will be enabled for completion.
This checklist aims to assist the party responsible for carrying out the verification in question. To answer the checklist questions, select the desired option (Yes, No, or N/A) in the Answer column in the list of records itself. Answers may already be filled with a default option, defined in the checklist file. Moreover, filling in the fields in the Comments column will be mandatory or not according to the established configurations, also, in the checklist file.
DocumentationIn this section, associate the attachments or documents related to the verification activity: ▪Attachment: Use this section to associate the attachments related to the verification activity. Refer to the Adding attachments section for further details on how to add and/or associate attachments. ▪Document: Use this section to add or associate the documents related to the verification activity. Refer to the Adding documents section for further details on how to add and/or associate documents from SE Document.
HistoryIn this section, the system will display the execution history of the verification activity in chronological order. In the activity history, it is possible to add comments, allowing more control over the events in the verification. To do this, click on the Comment button and on the screen that will be opened, enter the desired comment.
Link In this section, it is possible to link maintenance activities with the verification activity. To do this, use the following buttons in this section:
Variable readingThis section only appears when the activity is in the verification planning step. It should define the variables to be read during the execution of the verification activity. The variables will be read through the SE Maintenance component. To do that, click on the ▪Variable: Select the variable that will be associated with the activity. To associate a variable that does not exist, click on the ▪Mandatory reading: Select whether the reading of the selected variable will be mandatory or not when the activity is executed.
After filling in the fields, click on the Save button, at this point, the selected variable will be associated with the standard activity in question.
To-do tasksIn this section, the system displays the tasks that must be performed during the asset verification. This section may be completed with the standard activity tasks and/or the verification plan, but it is possible to edit, remove, and add new tasks. It is possible to use the If the verification is in planning, the fields referring to the scheduling of the tasks are available for completion. And, if the verification is under execution, the fields related to what was done will be available. Therefore, enter the start/end date/time of the planning/execution of the task. Save the data and repeat this procedure for all tasks in the following subsections: ▪Preparation: These are tasks that need to be executed to prepare the verification. Example: Equipment shutdown; ▪Execution: These are the tasks of the verification itself. Example: Part replacement; ▪Closure: These are the tasks that must be performed in order for the asset operation to be restored. The closure task is usually the reverse to the preparation activity. Example: Equipment startup.
Extra cost Allows entering the asset verification costs. This section may be displayed filled in with the costs of the standard activity and/or of the verification plan; however, it will be possible to edit, delete, as well as add new costs. If the verification is in planning, enter the Estimated cost for each cost. If the verification is under execution, enter the Actual cost for each cost.
Meter reading In this section, the system lists the readings made on the asset meter. This section will only be displayed if the meter reading and standard activity control of the asset associated in the verification plan is enabled. To view meter reading data, first, select the variable and then click on the
ResourcesThe required resources to execute the verification activity will be displayed. This section may be completed with the resources of the standard activity and/or of the verification plan; however, it is possible to edit, delete, and add new resources. The information to be filled out in each of the following subsections will depend on the step where the verification is found: ▪Technician: If the verification is in planning, it will be possible to define the service center and the technician, who is responsible for performing the verification. If the activity is under execution, in addition to being able to add a new technician, it will be possible to enter the technician allocation, i.e., how many hours the technician used per day to perform the verification. Through the buttons in this section, in addition to adding, editing or deleting a technician, it will also be possible to enter time. See more details about entering time in the Executing a verification section.
▪Supply: If the verification is in planning, it is possible to associate supplies by entering the Scheduled quantity of supplies that can be used in the verification If the activity is under execution, in addition to being able to associate new supplies, it will be possible to enter the Actual quantity of supplies that were used in the execution of the verification. ▪Tools: If the verification is in planning, it is possible to associate tools by entering the Scheduled quantity of tools that can be used in the verification. If the activity is under execution, in addition to being able to associate new tools, it is possible to enter the Actual quantity of tools used to run the verification. ▪Total: This subsection presents a summary of the resources that are programmed and used in the verification activity.
Problems In the subsections displayed, it is possible to associate the defects identified in the asset and their respective causes. To do that, use the following subsections: DefectIn this subsection, associate the defects of the assets of this verification activity. To do that, click the
DowntimeThis section only appears when the activity is in the verification execution step. Use it to enter the downtime record of an asset of the verification activity. It will only be possible to enter the downtimes of an asset when the standard activity associated with the verification plan is not configured with the control to interrupt the asset. If, during the activity execution, the asset is available and it is necessary to create a downtime record for it, click the
AnalysisThis section only appears when the activity is in the verification execution step. In it, it is possible to add the asset verification analysis record through the analysis tools available in SE Suite: 5 Whys, FTA, and Ishikawa. You may create a new analysis or associate an already existing analysis. To do that, click the
Associations In this section, it is possible to associate the verification activity in question with isolated action records (SE Action Plan), incidents (SE Incident), action plans (SE Action plan), problems (SE Problem), workflows (SE Workflow) and requests (SE Request). See further details in the following subsections:
OccurrencesIn this subsection, record the occurrences that have made it necessary to verify the asset. Through this section, it will be possible to associate existing occurrences or add a new occurrence. To associate an existing occurrence, click on the To add a new occurrence, click on the ▪Isolated action: Select this option to create a new isolated action. Isolated actions are actions that do not belong to an action plan. In order to create isolated actions, the organization must have an active license in the SE Action plan component. ▪Incident: Select this option to add an incident that occurred and led to the asset verification programming. In order to record incidents, it is necessary that the organization has an active license of the SE Incident and SE Process components. ▪Action plan: Select this option to create an action plan. In order to create action plans, the organization must have an active license in the SE Action plan component. ▪Problem: Select this option to add a problem that occurred and led to the asset verification programming. In order to record problems, it is necessary that the organization has an active license of the SE Problem and SE Process components. ▪Workflow: Select this option to instantiate a process related to asset verification. To instantiate processes, it is necessary that the organization has an active license of the SE Workflow and SE Process components.
RequestIn this subsection, the requests related to the verification in question may be associated. In this section, the system allows associating the "Revision" and "Purchase" requests that are in the execution step and have been issued with: ▪The same standard activity and the same verification asset in question; or ▪The same standard activity and any asset, if the verification in question does not have an asset.
Save the records after making the necessary changes. |